Oct 20, 2026News & Insights
Canvas Bag Painting Ideas: Transforming Plain Totes Into Daily Wearable Art
Transform plain canvas totes with creative painting ideas, flexible fabric paints, simple designs, and proper heat-setting for durable, stylish everyday accessories.
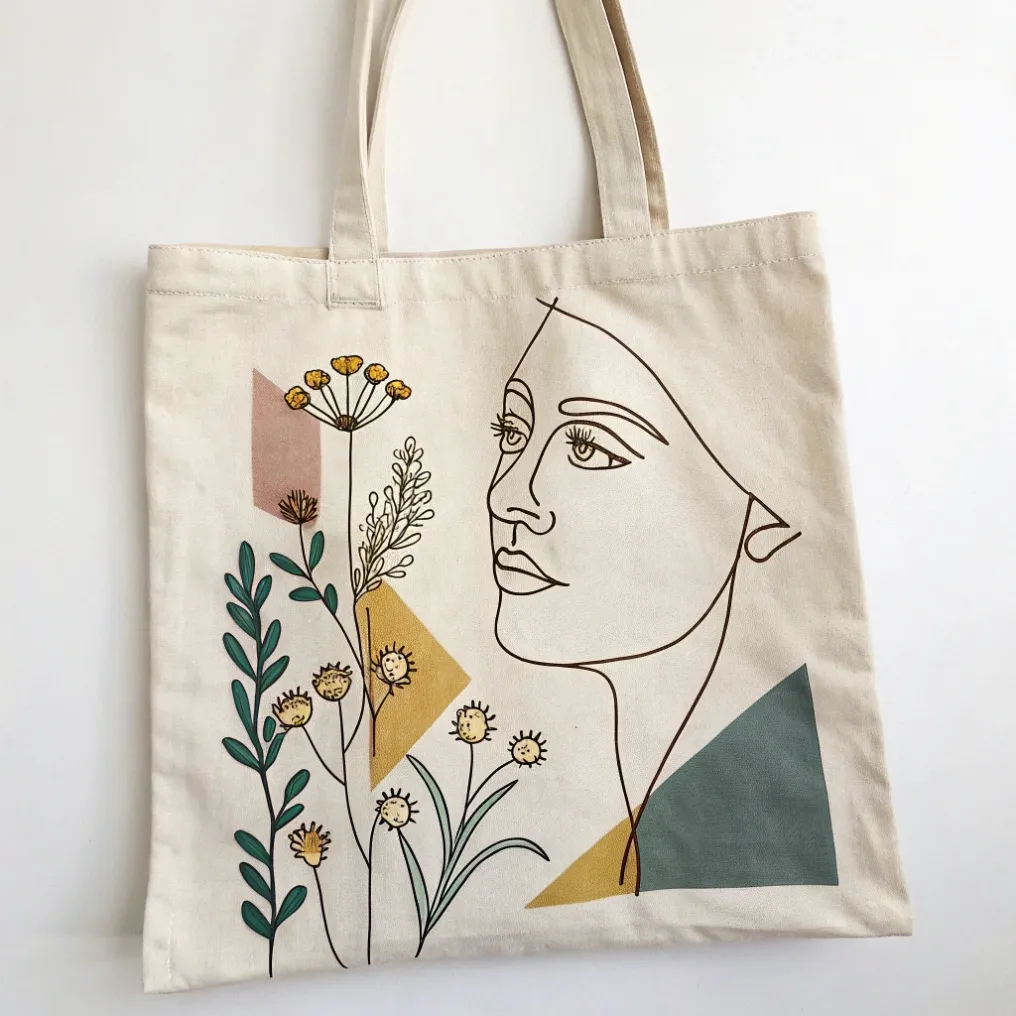
Canvas Bag Painting Ideas: Transforming Plain Totes Into Daily Wearable Art
Do you buy a blank natural cotton canvas tote intending to create a custom accessory, only to hesitate because you worry the paint will dry into a stiff, scratchy board that flakes and cracks upon the first fold? Hand-painting textiles requires a different technical approach than painting on paper or stretched canvas boards. When pigment layers are too heavy or applied without the right binder chemistry, an everyday carry item quickly turns into an unwearable craft project.
The best canvas bag painting ideas balance negative space with flexible acrylic textile mediums—utilizing single-line botanical silhouettes, Scandi geometric color-blocking, celestial constellations, or textured block stamps positioned away from high-stress structural seams.
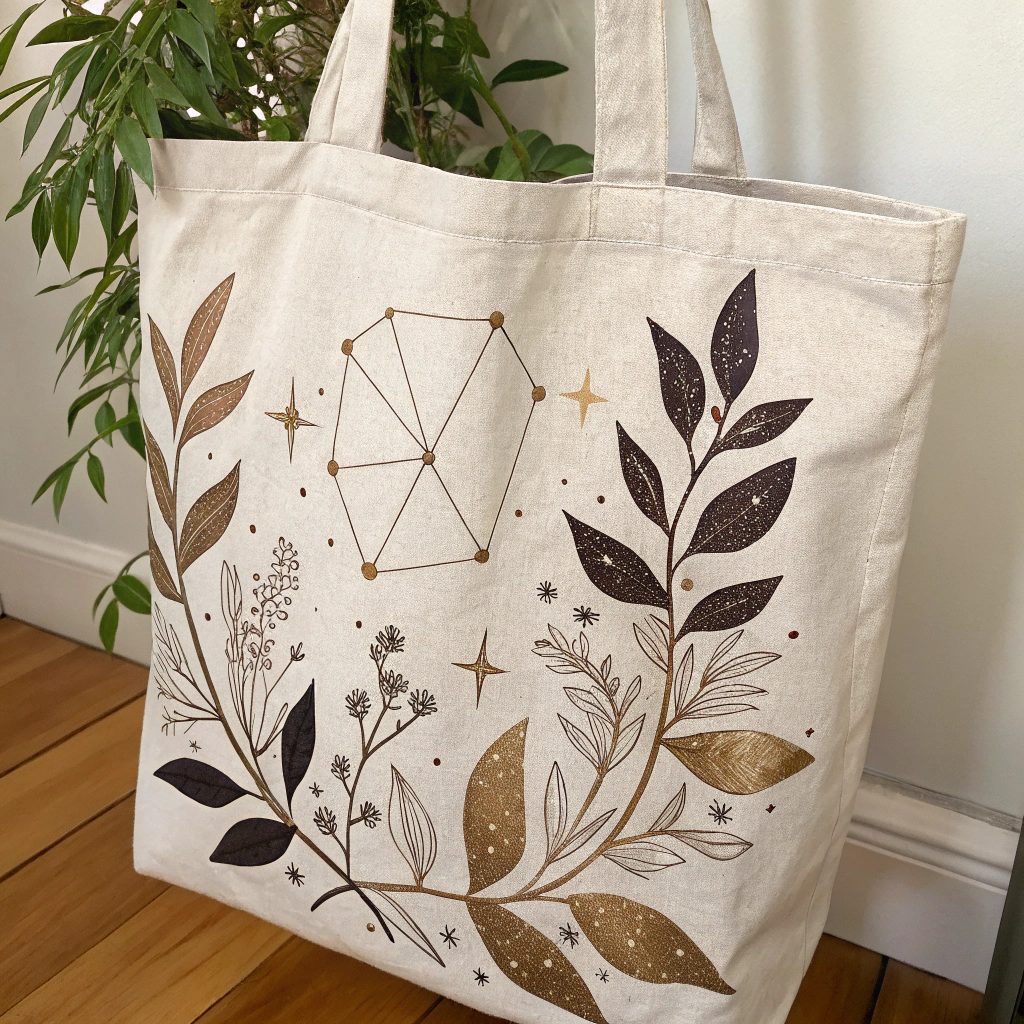
When I started my career working in a printing and corporate merchandise factory years ago, I handled screen printing, pigment dyeing, and manual rotary embellishments across thousands of cotton bags. The secret to durable textile art is treating the canvas as a flexible, breathing grid. Canvas moves, wraps around your hips, carries heavy loads, and gets washed. If you don’t anchor your pigment deep into the hollow cores of the cotton cellulose fibers, the design won’t survive daily wear. Let us explore the exact paints to use, master the step-by-step painting process, and review simple canvas bag painting ideas that hold up over years of use.
What Kind of Paint to Use on Canvas Bag?
Have you ever painted a tote bag with standard craft acrylic paint, only to watch it dry into a rigid, plastic crust that snaps and chips off the moment you fold the bag? Standard acrylics lack the elastomeric polymers necessary for flexible, woven textiles.
You should use specialized fabric acrylic paint (such as Jacquard Textile Color or Pebeo Setacolor) or heavy-body acrylic paint blended with an acrylic textile medium at a 1:1 ratio, which permanently bonds pigment to cotton fibers while keeping the fabric supple.
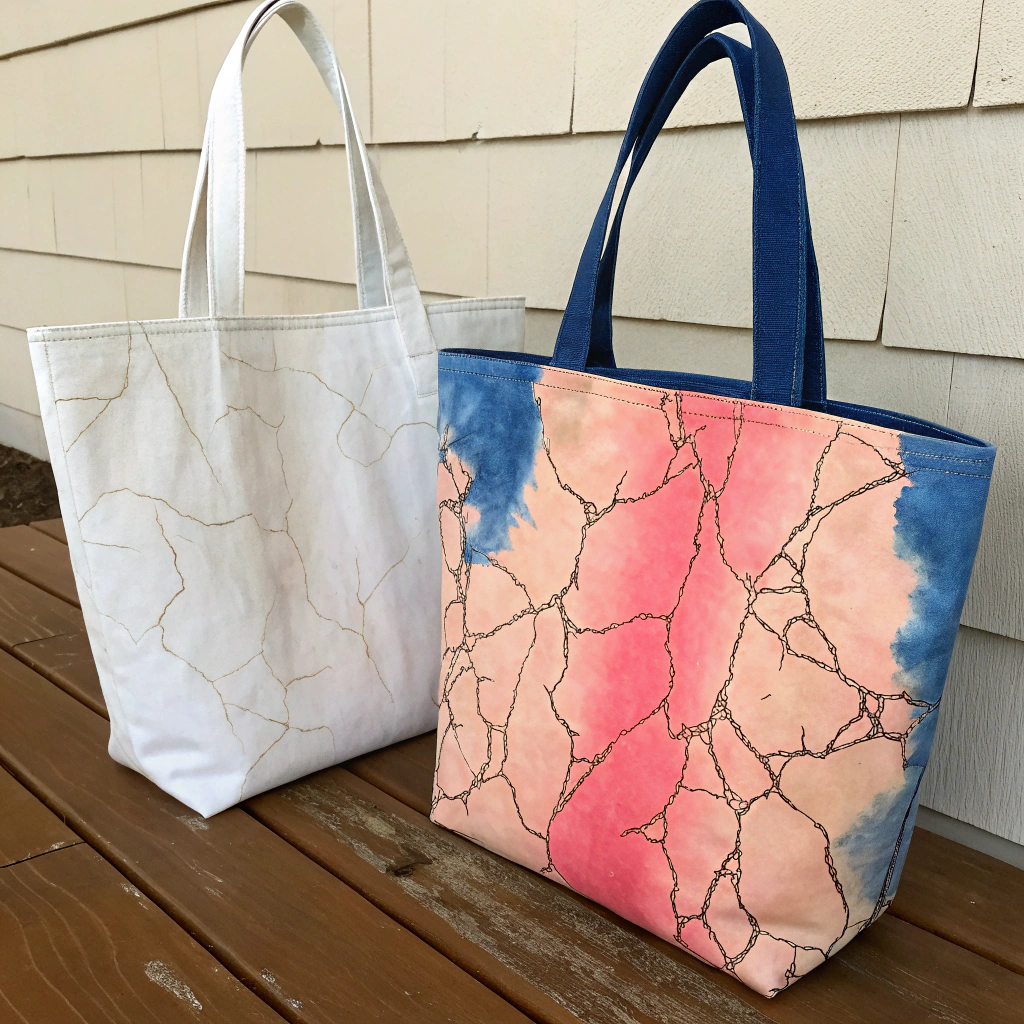
Polymer Binders, Fabric Mediums, and Fiber Adhesion
Standard acrylics are engineered for rigid boards; when dried, their polymer chains form a continuous plastic film that cannot stretch. An acrylic textile medium breaks down surface tension, lowers viscosity, and adds flexible plasticizing polymers. This allows the liquid pigment to wick directly into individual cotton yarns rather than sitting on top of the weave.
If you plan to wash the bag regularly, self-crosslinking fabric acrylics provide superior wash-fastness. For fine lettering and precise geometric borders, permanent fabric markers or oil-based paint pens offer clean line control without water pooling.
For marketing and branding managers like Jacky designing interactive workshop kits or creative team-building stations, supplying pre-mixed acrylic-and-medium bottles alongside fine synthetic brushes ensures participants achieve soft, non-cracking results without guesswork.
Paint Formulation Type | Chemical Binder Properties | Cured Surface Hand-Feel | Crack & Flex Resistance | Safe Laundering Method |
|---|---|---|---|---|
Dedicated Fabric Acrylic | Self-crosslinking polymer emulsion | Soft, breathable, supple | Exceptional: Moves with weave | Gentle machine wash (Cold water) |
Acrylic + Textile Medium (1:1) | Flexible acrylic copolymer blend | Moderately soft, flexible | Very High: Zero flaking | Delicate hand-wash or gentle cycle |
Standard Craft Acrylic (Raw) | Rigid thermoplastic resin | Stiff, hard, scratchy | Very Poor: Chips on first fold | Not washable (Peels away) |
Textile Pigment Markers | Deep-penetrating dye/pigment ink | Completely smooth (Zero hand) | Exceptional: Permanent dye bond | Fully washable after heat-setting |
How to Paint on Canvas Bags: The Step-by-Step Guide
Have you ever applied wet paint to a canvas tote only to discover that the pigment bled straight through the weave and glued the front and back panels together? Avoiding messy bleed-through and ensuring permanent adhesion requires systematic prep and proper thermal curing.
To paint on canvas bags, insert an internal moisture barrier board, lightly sketch guidelines with water-soluble tailor’s chalk, apply thin coats of textile paint along the fabric grain, air-cure for 24 hours, and heat-set the design with a hot dry iron.
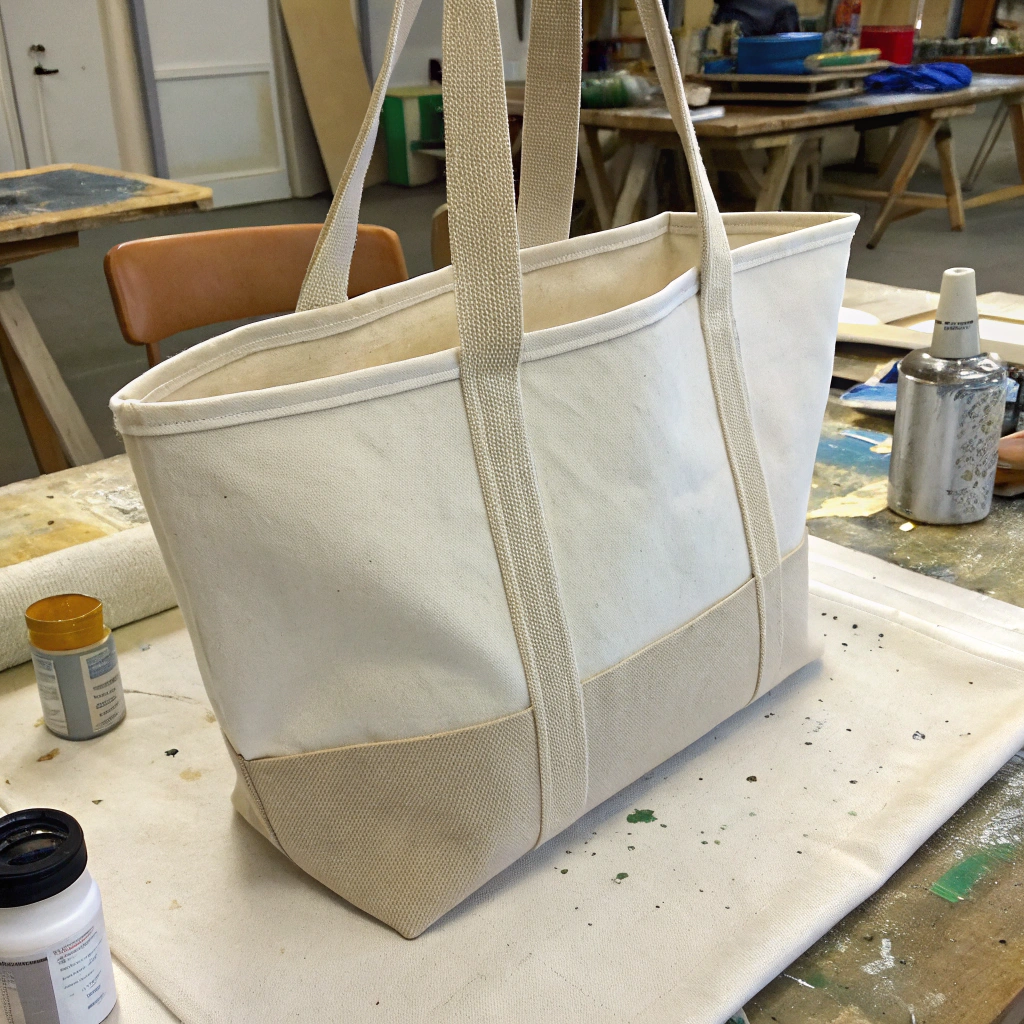
The 6-Stage Textile Painting Protocol
Follow this structured, factory-tested workflow to achieve clean, durable artwork:
- Substrate De-Sizing & Pressing: If using raw 100% cotton canvas, rinse it in cold water to strip away industrial starches (sizing) applied during weaving. Iron the bag flat to eliminate wrinkles and surface creases.
- Inserting the Barrier Board: Slide a piece of rigid corrugated cardboard or wax freezer paper inside the bag cavity. This creates a firm, drum-tight painting surface and stops liquid paint from seeping through to the rear panel.
- Pencil or Chalk Layout Planning: Lightly outline your design using water-soluble tailor’s chalk or a 2B pencil. Keep primary artwork at least 3 to 4 cm away from bottom gussets and handle stress seams.
- Controlled Thin-Film Painting: Dip synthetic nylon brushes into your paint mixture, dab off excess paint on a paper towel, and paint in smooth strokes following the weave. Apply two thin coats instead of one heavy, thick layer, allowing 30 minutes of drying time between layers.
- Full Air Polymerization (24 Hours): Let the painted bag dry flat at room temperature for a minimum of 24 hours to allow water evaporation and polymer cross-linking.
- Thermal Heat-Setting: Place a cotton pressing cloth or silicone parchment sheet over the painted surface. Using a dry iron set to the “Cotton” setting (150°C to 160°C, zero steam), press and move across the artwork for 3 to 5 minutes to permanently lock the pigment into the fibers.
Step in Sequence | Key Equipment / Tooling | Target Duration | Common Mistake to Avoid |
|---|---|---|---|
1. Fabric Prep | Cold water + dry iron | 20 Minutes + drying | Using silicone fabric softeners (blocks paint) |
2. Cavity Isolation | Corrugated cardboard / freezer paper | 1 Minute | Skipping barrier; front sticks to back panel |
3. Layout Marking | Water-soluble tailor’s chalk | 10 Minutes | Using dark permanent markers that bleed through |
4. Pigment Layering | Synthetic filbert & detail brushes | 30 to 60 Minutes | Applying thick, opaque globs in a single pass |
5. Thermal Cure | Dry household iron + parchment paper | 3 to 5 Minutes | Using steam (steam compromises acrylic bonds) |
Simple Canvas Bag Painting Ideas
Are you searching for straightforward, elevated design concepts that look refined without requiring advanced fine-art drafting skills? The most effective designs rely on clean composition, thoughtful negative space, and disciplined color palettes.
Simple canvas bag painting ideas include minimalist continuous line faces, Scandinavian geometric color-blocking, botanical meadow wildflowers, analog fruit stamps, and modern typography quotes.
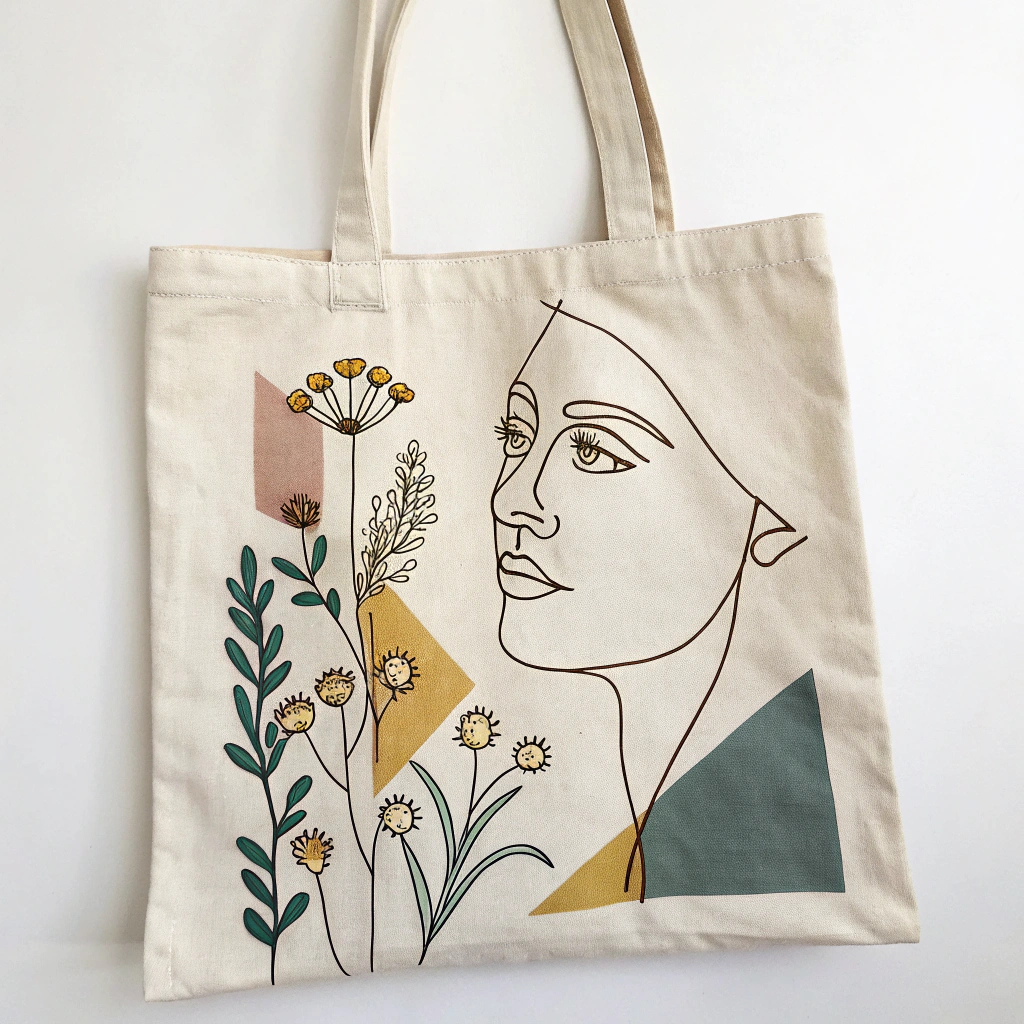
Five Beginner-Friendly, High-Retention Design Concepts
These five design directions combine simple execution with everyday style:
- Minimalist Single-Line Art: An unbroken contour sketch of a profile silhouette, a monstera leaf, or intertwined hands. By keeping pigment coverage below 10% of the surface, the bag maintains its natural drape and fabric texture.
- Scandinavian Color-Blocking: Use low-tack blue painter’s tape to mask off overlapping arches, diagonal bands, or lower-third split dips. Earthy terracotta, sage green, and warm ochre tones create a clean, modern aesthetic.
- Botanical Wildflower Stems: Paint delicate sprigs of lavender, olive branches, or chamomile daisies rising organically from the lower corner seam. The irregular shapes of natural leaves make freehand brushwork very forgiving.
- Handmade Block-Printed Repeat Motifs: Carve a simple motif (like a lemon, crescent moon, or leaf) into a soft rubber linoleum block or potato stamp. Roll fabric ink evenly across the stamp and press rhythmically across the canvas to create an artisanal pattern.
- Minimalist Typography & Coordinates: Paint a favorite single-word mantra, personal initials, or geographic coordinates using stencils and a high-density foam sponge. A clean, spaced-out layout looks modern and understated.
Design Concept | Tooling & Setup | Difficulty Level | Surface Flexibility | Best Everyday Setting |
|---|---|---|---|---|
Single-Line Art | Size 2 round synthetic brush | Beginner | 95% (Near-perfect drape) | Work commutes, gallery visits |
Scandi Color-Block | Painter’s tape + foam spouncer | Absolute Beginner | 85% (Smooth, soft drape) | Farmers’ markets, weekend errands |
Wildflower Sprigs | Filbert & spotter brushes | Beginner | 90% (Soft and breathable) | Everyday casual lifestyle carry |
Linocut Stamp Repeat | Carved rubber block + brayer | Beginner to Intermediate | 90% (Light ink coverage) | Book carrying, library trips |
Clean Typography | Letter stencils + foam sponge | Absolute Beginner | 90% (Crisp and legible) | Corporate giveaways, gifting |
Conclusion
A successful painted canvas tote balances creative personal expression with textile mechanics, combining flexible fabric acrylic mediums, mindful negative space, and disciplined thermal heat-setting to turn an everyday cotton bag into a durable accessory you carry proudly for years.