Aug 20, 2026News & Insights
How to Get T-Shirts Embroidered With My Custom Logo in Bulk?
Bulk T-shirt embroidery requires quality fabrics, precise logo digitization, proper stitching, and reliable manufacturers to ensure durable, professional results.
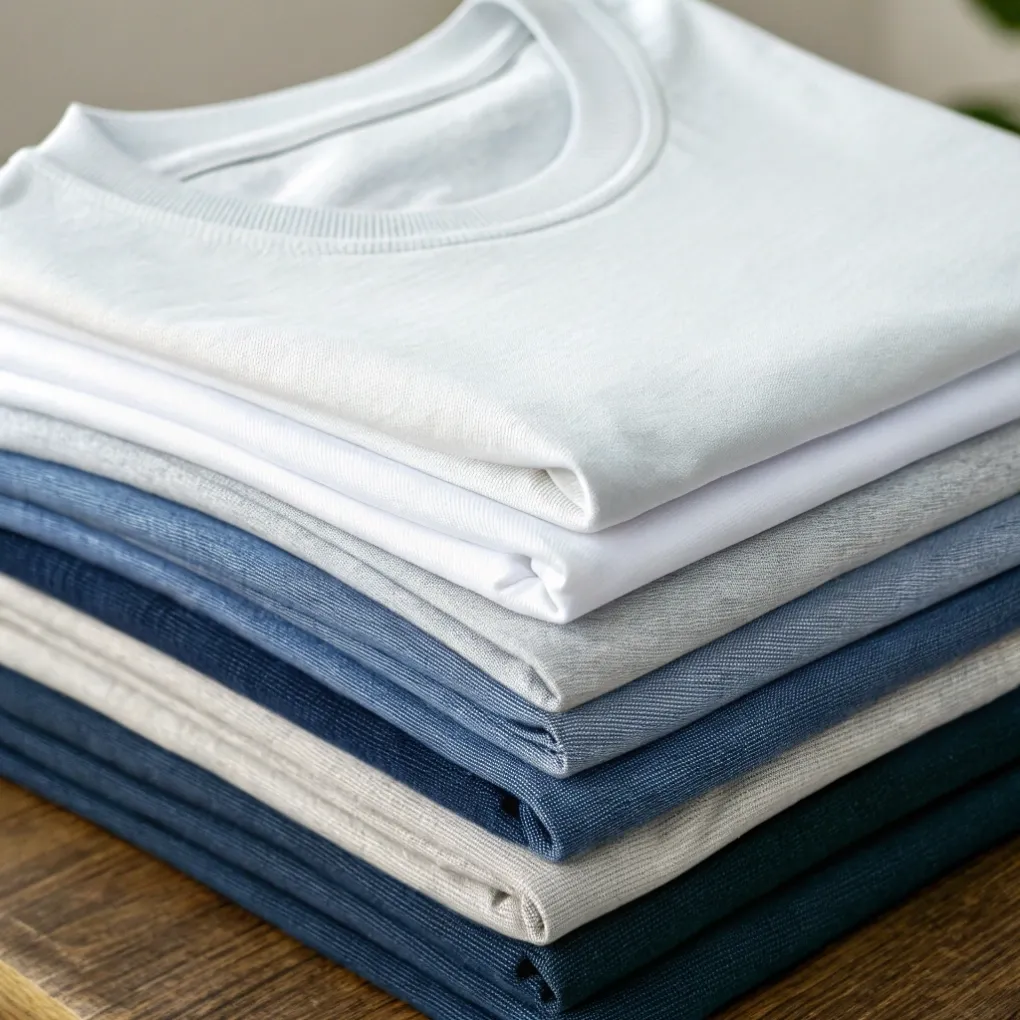
How to Get T-Shirts Embroidered With My Custom Logo in Bulk?
Are you frustrated by bulk apparel orders that arrive with puckered fabric, crooked logos, or scratchy, stiff embroidery? Ordering hundreds of embroidered shirts without proper planning wastes your marketing budget and leaves your team with uncomfortable clothing they refuse to wear.
To get T-shirts embroidered with your custom logo in bulk, choose a heavy-weight ring-spun cotton or pique knit shirt, convert your vector logo into a digitized stitch file (DST/PES), request a physical sew-out sample proof, and partner with an experienced bulk embroidery manufacturer. This ensures crisp stitch definition, zero fabric warping, and consistent branding across every single garment.
When I started my career in a humble printing factory, I saw businesses spend thousands on bulk embroidery orders only to have lightweight jersey tees pucker and bunch up because the stitch density overwhelmed the thin fabric. Later, I founded Latitude Experience Pte Ltd to help marketing managers and business owners navigate textile customization and corporate uniform production with complete confidence. Bulk embroidery is not just about punching a digital file into a sewing machine—it is an engineering process that balances fabric stability, thread chemistry, and precision digitization. Keep reading to learn how much bulk embroidery costs, how to convert your logo into stitch files, and what software is needed to digitize embroidery.
How Much Does It Cost to Embroider a Logo on a Shirt?
Are you confused by the wide price ranges quoted by different embroidery shops and wondering why stitch counts affect your bottom line? Understanding how embroidery pricing works helps you design cost-effective logos and prevent unexpected production fees.
Embroidering a logo on a shirt typically costs between $3.00 and $12.00 per garment for the embroidery service alone, plus the cost of the blank T-shirt ($4.00 to $15.00+). The total price depends on order volume, total stitch count (typically 4,000 to 10,000 stitches for a left-chest logo), and a one-time digitization setup fee ($20 to $60).
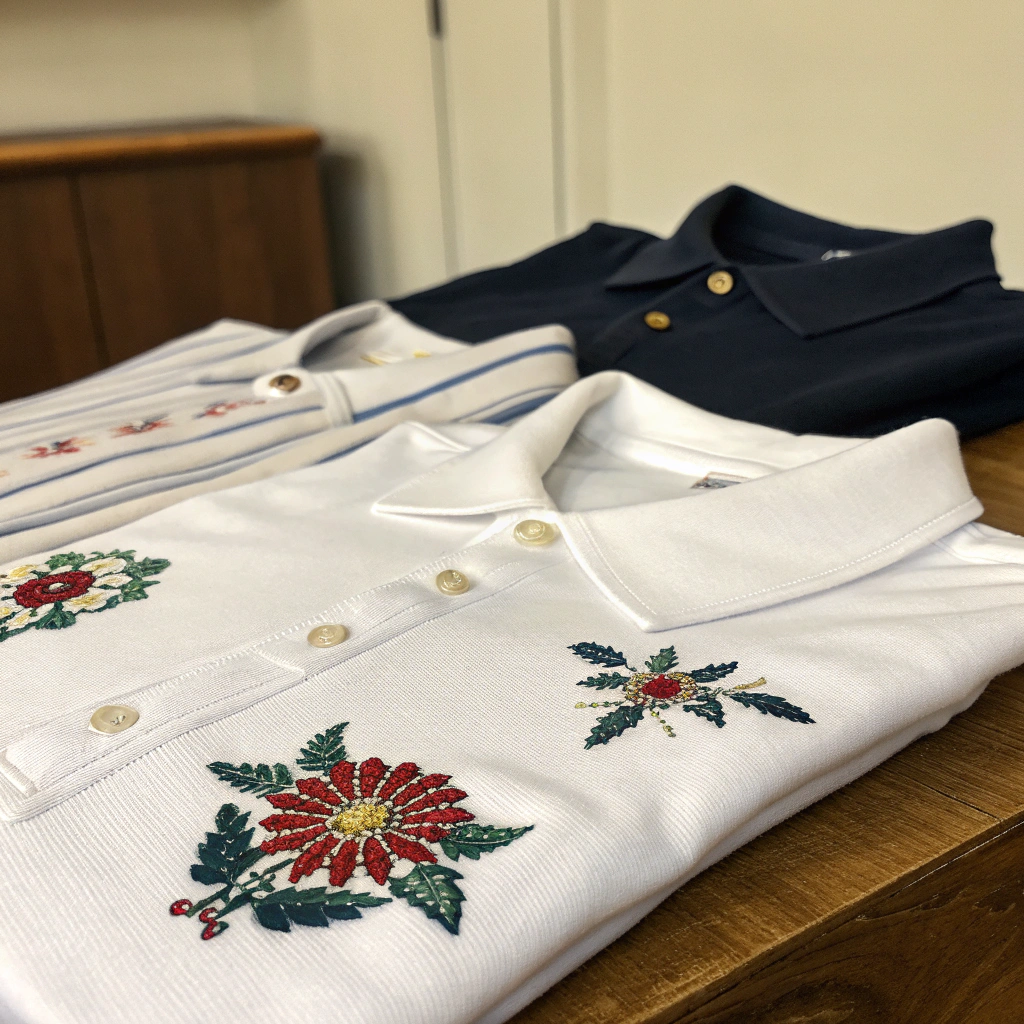
Understanding Stitch Count and Quantity Tiers
During my decades in product customization and textile inspection, I have evaluated thousands of embroidery cost sheets. Unlike screen printing, which charges per ink color, embroidery pricing is driven primarily by stitch count and run time.
A standard 3.5-inch left-chest corporate logo usually contains between 5,000 and 8,000 stitches. Because multi-head embroidery machines stitch multiple shirts simultaneously, large bulk orders drastically reduce the per-unit labor cost, while the one-time digitizing fee is absorbed across the entire batch.
Order Quantity | Left-Chest Logo (5k–7k Stitches) | Large Back Design (15k–25k Stitches) | One-Time Digitizing Fee | Blank T-Shirt Cost (180–220 GSM) |
|---|---|---|---|---|
24–49 Units | $6.50 – $9.00 per shirt | $14.00 – $22.00 per shirt | $30 – $50 (Flat fee) | $6.00 – $10.00 |
50–149 Units | $4.50 – $6.50 per shirt | $10.00 – $15.00 per shirt | $20 – $35 (Often discounted) | $5.00 – $8.50 |
150–499 Units | $3.20 – $4.50 per shirt | $7.50 – $11.00 per shirt | Free / Waived | $4.20 – $7.00 |
500+ Units | $2.20 – $3.20 per shirt | $5.00 – $8.00 per shirt | Free / Waived | $3.50 – $6.00 |
Optimizing your logo’s size and simplifying solid fill areas keeps stitch counts manageable, allowing you to maximize quality while staying well within your corporate apparel budget.
How Do I Turn My Logo Into an Embroidery File?
Are you wondering why you cannot simply send a high-resolution JPEG, PNG, or vector PDF directly to a commercial embroidery machine? Sending standard graphic files without converting them to machine code leads to production halts and distorted stitching.
To turn your logo into an embroidery file, you must have it digitized—a process where specialized software converts 2D graphic shapes into precise needle path coordinates, stitch types (satin, fill, running), stitch angles, density values, and color stop commands readable by commercial machines (such as .DST or .PES files).
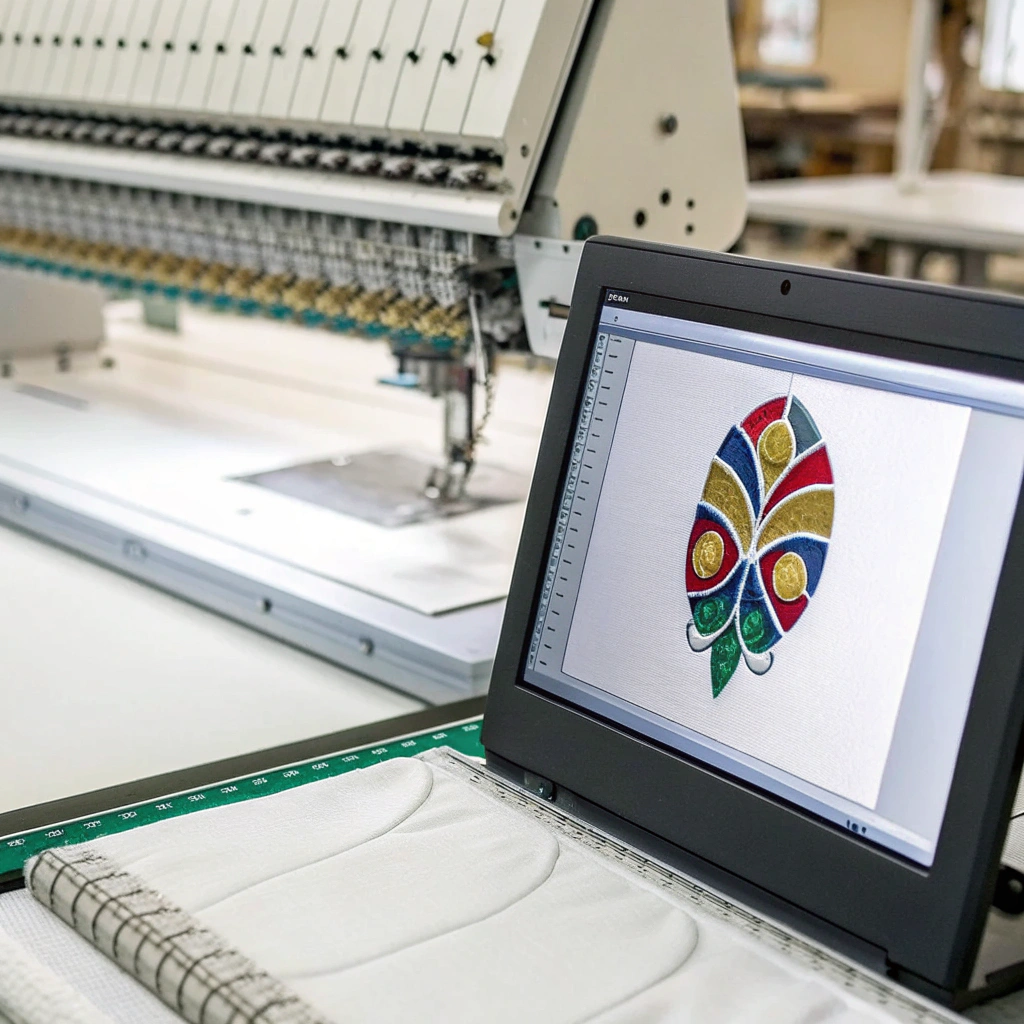
The Key Steps of Embroidery Digitization
At Latitude Experience Pte Ltd, clients like Jacky frequently ask me how artwork transforms into thread. Digitizing is not an automated “save-as” export; it is a skilled technical craft.
A digitizer analyzes how the needle will pull and push the fabric. Because stretchy knit T-shirts pull inward when stitched, the digitizer adds “pull compensation” and lays down an underlying foundation grid called “underlay stitching.” This stabilizes the garment before the visible top stitches are applied.
Digitizing Stage | Action Taken | Purpose in Finished Garment |
|---|---|---|
1. Artwork Simplification | Remove tiny gradients & micro-text (<4mm) | Ensures text stays legible and does not turn into thread clumps |
2. Pathing & Sequencing | Plan needle sequence from center outward | Prevents fabric from bunching up and shifting across the hoop |
3. Underlay Application | Lay light foundational stitches | Anchors fabric to the backing stabilizer to prevent puckering |
4. Top Stitch Generation | Apply satin stitches for borders, tatami for fills | Delivers smooth luster, crisp edges, and rich tactile texture |
5. Machine Export | Save as Tajima (.DST) or Brother (.PES) format | Translates commands for commercial multi-head machines |
Working with a professional digitizer ensures that your logo translates into smooth, clean thread lines without tearing the underlying cotton fabric.
What Software Do I Need to Digitize for Embroidery?
Are you looking to digitize embroidery files in-house but feeling overwhelmed by all the specialized software suites on the market? Purchasing the wrong program can lead to steep learning curves, incompatible machine formats, and frustrating stitching errors.
To digitize for embroidery, you need specialized embroidery digitizing software such as Wilcom EmbroideryStudio, Tajima DG/ML by Pulse, Brother PE-Design, or Embird. For open-source and beginner options, Ink/Stitch (an extension for Inkscape) provides a free entry point into vector-based digitizing.
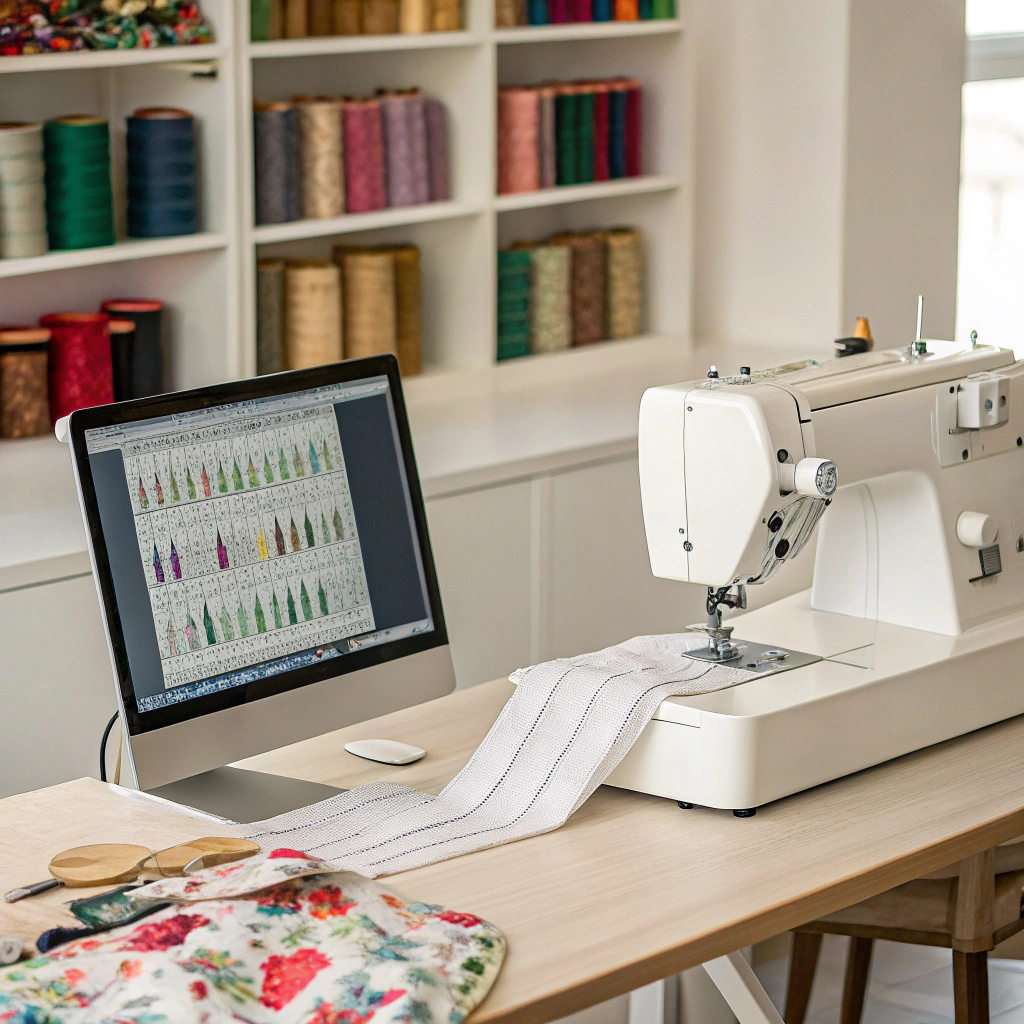
Comparing Top Professional and Entry-Level Digitizing Software
In my factory inspection experience, professional embroidery facilities rely almost exclusively on high-end software that provides automated stitch compensation and manual node editing.
While graphic design tools like Adobe Illustrator or CorelDRAW create the initial vector shapes, dedicated embroidery software is required to assign physical stitch parameters, thread densities, pull compensation values, and tie-off knotting commands.
Software Program | Target User Level | Supported Machine Formats | Key Strengths | Price Range |
|---|---|---|---|---|
Wilcom EmbroideryStudio | Industry Standard / Professional | DST, EMB, PES, EXP, HUS, etc. | Unmatched stitch quality, advanced letter spacing, CorelDRAW integration | $1,200 – $4,000+ |
Tajima DG/ML by Pulse | Commercial Production Facilities | DST, PXF, and all major formats | Superior vector-to-stitch engine, multi-head network management | $1,500 – $4,500 |
Embird | Small Business & Freelancers | DST, PES, JEF, VIP, HUS, etc. | Modular system, affordable, excellent plug-ins for lettering | $150 – $600 |
Brother PE-Design 11 | Prosumer & Boutique Shops | PES, DST, EXP, PHC | User-friendly UI, photo-stitch tools, great for Brother machines | $800 – $1,200 |
Ink/Stitch (Inkscape Plugin) | Open-Source / Hobbyist | DST, PES, SVG, EXP, JEF | 100% Free, community-supported, works inside vector Inkscape | Free ($0) |
For most businesses ordering in bulk, outsourcing digitization to your manufacturing partner like Latitude Experience is the most cost-effective approach, as professional digitizers optimize files specifically for the exact machine gauge and fabric weight being used.
Best Practices for Successful Bulk T-Shirt Embroidery
To ensure your bulk embroidered T-shirt project runs smoothly from initial concept to final delivery, keep these practical manufacturing guidelines in mind:
- Select the Right Fabric Weight: Avoid ultra-thin T-shirts (<150 GSM). Choose heavy-weight combed cotton (180 to 220 GSM) or double-pique knits that have sufficient structural density to support thread tension.
- Use Heavy Cutaway Backing: For knit shirts, always ensure your supplier uses cutaway stabilizer backing rather than tearaway backing to prevent the embroidery from distorting after repeated wash cycles.
- Keep Text Above Minimum Height: Ensure all text in your logo is at least 4mm to 5mm tall (approx. 14pt font). Anything smaller will cause needle holes to bleed together and make the text unreadable.
- Always Insist on a Physical Sew-Out Proof: Never approve mass production based solely on a digital PDF mockup. Request a photo or physical sample of the logo stitched onto the actual garment fabric to check thread tension, color accuracy, and alignment.
Conclusion
Getting T-shirts embroidered with your custom logo in bulk requires selecting heavy-weight base fabrics, executing precision digitizing with proper pull compensation, and partnering with an experienced manufacturing partner to create durable, high-end corporate apparel that employees and clients wear with pride.