News & Insights
How to Make Homemade Ice Without Ice Trays: Smart Kitchen Hacks for Every Drink
Make homemade ice without trays using shallow containers or freezer bags, then store airtight to preserve freshness, clarity, and flavor.
How to Make Homemade Ice Without Ice Trays: Smart Kitchen Hacks for Every Drink
Do you go to pour an iced drink only to discover your ice cube trays are missing, broken, or full of forgotten, freezer-burnt cubes? You don’t need to run to the store or buy specialized plastic molds. With standard kitchen essentials, food-safe containers, and a little basic physics, you can easily produce crystal-clear, fast-chilling ice tailored for any glass or water bottle.
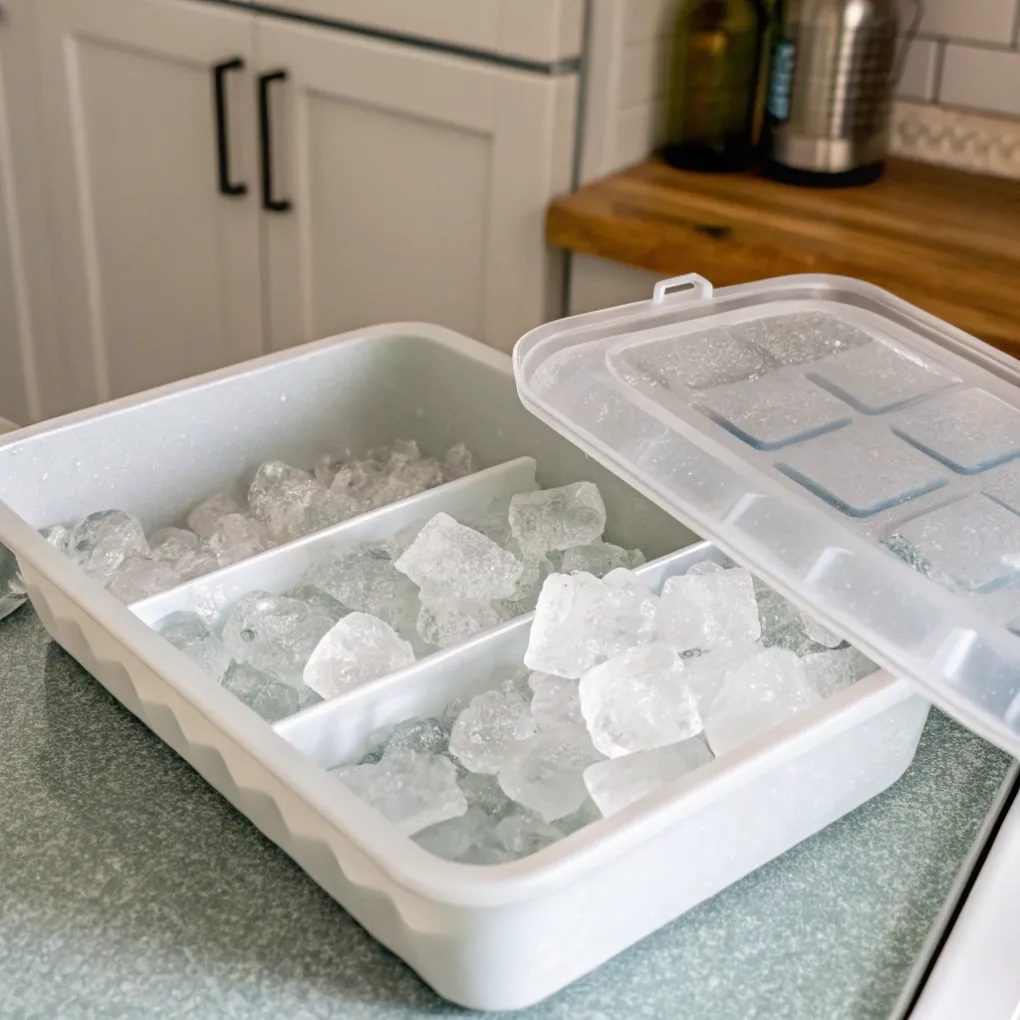
The best way to make homemade ice without an ice tray is by pouring a thin 1.5 cm layer of drinking water into a clean, shallow, freezer-safe container—or a flat ziplock freezer bag—freezing it flat, and cracking it into custom-sized chunks.
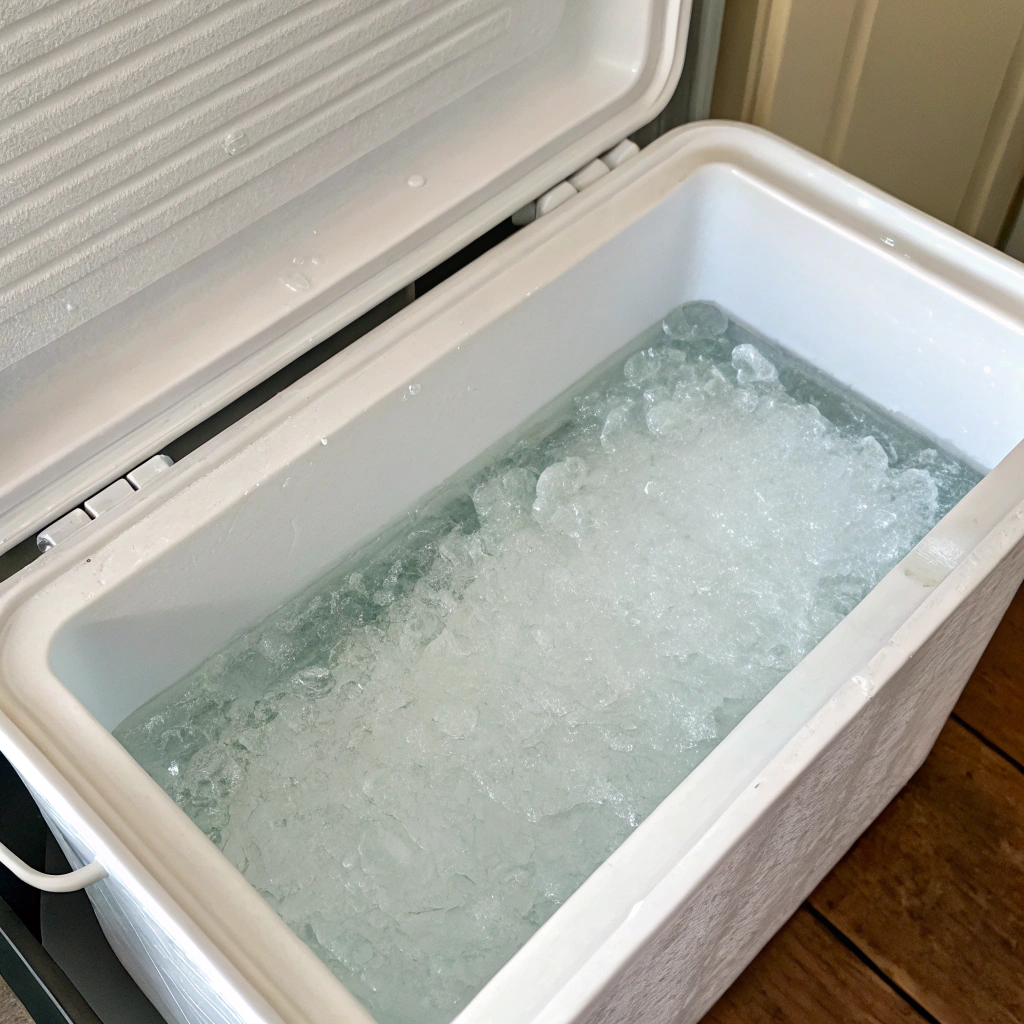
Whether you need quick crushed ice for a smoothie, slow-melting large blocks for cocktails, or narrow shards that fit into a slim-neck stainless steel water bottle, adapting household items takes zero effort. Let us examine the most reliable alternatives, debunk common freezing myths (like the Mpemba effect), and break down how to store your homemade ice safely.
What Is the Best Way to Make Ice Without an Ice Tray?
Are you wondering which household alternative produces the cleanest, most convenient ice without taking up half your freezer shelves? The ideal method depends entirely on the type of drink you are serving.
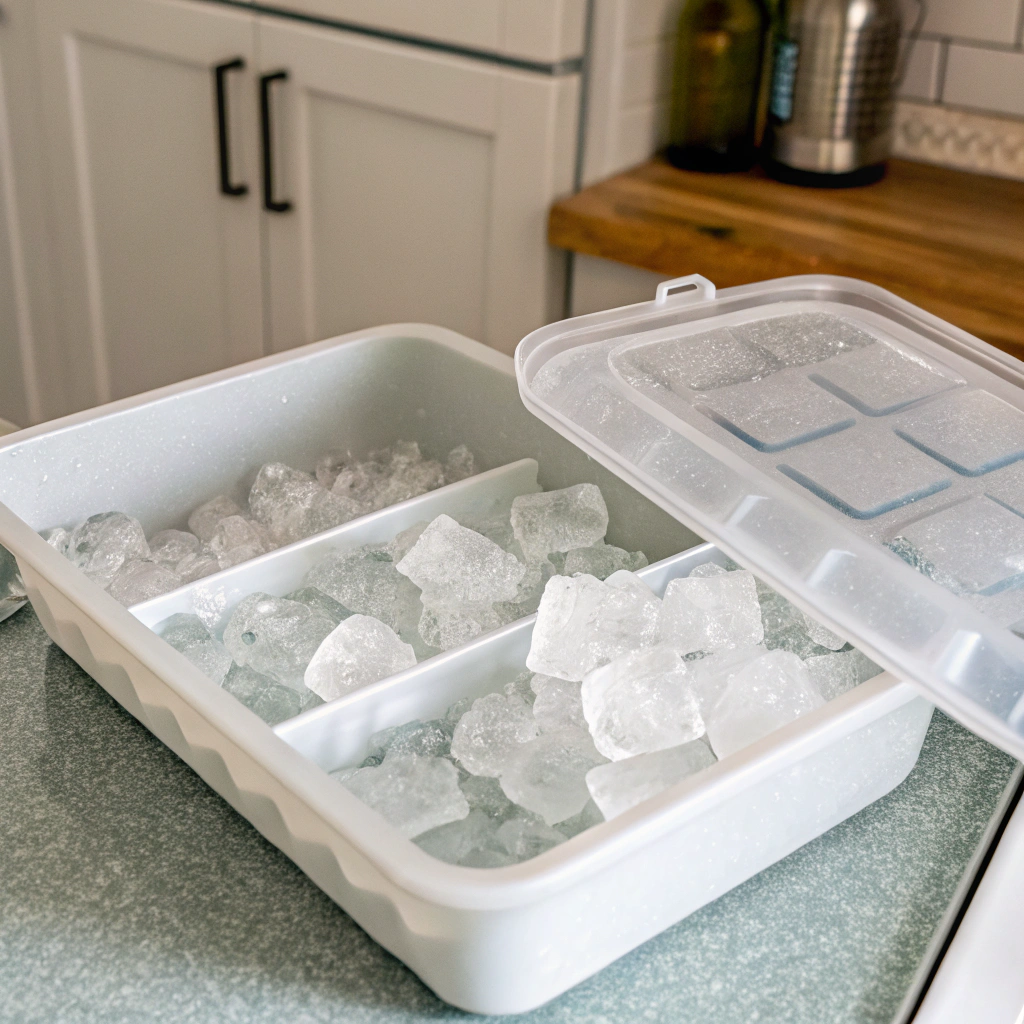
The best overall method is using a shallow, food-safe plastic storage container or baking dish, as thin water sheets freeze rapidly and break effortlessly into versatile, custom-sized chunks.
5 Household Ice-Making Substitutes Ranked
Here is how common kitchen substitutes perform across speed, ease of removal, and shape:
- The Shallow Sheet Method (Best for Everyday Drinks): Pour 1 to 2 cm of filtered water into a shallow Tupperware or stainless steel pan. Once frozen solid, invert the container over a clean cutting board, flex gently, and crack the ice sheet using the back of a heavy metal spoon.
- Ziplock Freezer Bags (Best for Space-Saving & Crushed Ice): Fill a heavy-duty, food-safe freezer bag with a shallow layer of water, press out excess air, seal it, and lay it completely flat on a freezer shelf. Once solid, flex the bag or tap it lightly with a rolling pin to create instant crushed ice without mess.
- Muffin Tins & Cupcake Trays (Best for Large, Slow-Melting Blocks): Silicone or metal muffin tins act as oversized round ice molds. Because these larger blocks melt slowly due to their low surface-area-to-volume ratio, they are ideal for wide-mouth water bottles and punch bowls.
- Small Silicone Food/Baking Molds (Best for Uniform Cubes): Chocolate-melting molds, silicone egg-bite trays, or mini baking cups produce clean, individual ice shapes that release effortlessly without needing hot water rinses.
- Rigid Food Storage Cups (Best for Pitchers & Coolers): Small 100 ml or 200 ml plastic prep bowls create thick ice pucks. Let them sit at room temperature for 60 seconds to release naturally without cracking the plastic.
Method / Substitute | Ideal Water Depth | Freezing Speed | Ease of Ice Removal | Best End Application |
|---|---|---|---|---|
Shallow Plastic Container | 1.0 – 1.5 cm | Fast (1.5 to 2 Hours) | Very Easy (Flex & crack) | Everyday glasses, iced coffee |
Flat Ziplock Freezer Bag | 0.5 – 1.0 cm | Fastest (1 to 1.5 Hours) | Exceptional (Crush in bag) | Smoothies, rapid drink chilling |
Silicone Muffin / Cupcake Pan | 2.0 – 3.0 cm | Moderate (3 to 4 Hours) | Exceptional (Pop out) | Wide-mouth bottles, cocktails |
Rigid Plastic Prep Cups | 4.0 – 5.0 cm | Slow (4 to 6 Hours) | Requires 60s room-temp thaw | Pitchers, punch bowls, coolers |
Is It Better to Use Hot Water for Ice Cubes?
Have you heard the popular kitchen myth that boiling or hot water freezes faster than cold water—a phenomenon known as the Mpemba effect? Relying on hot water as a quick shortcut can actually backfire and warm up your entire freezer.
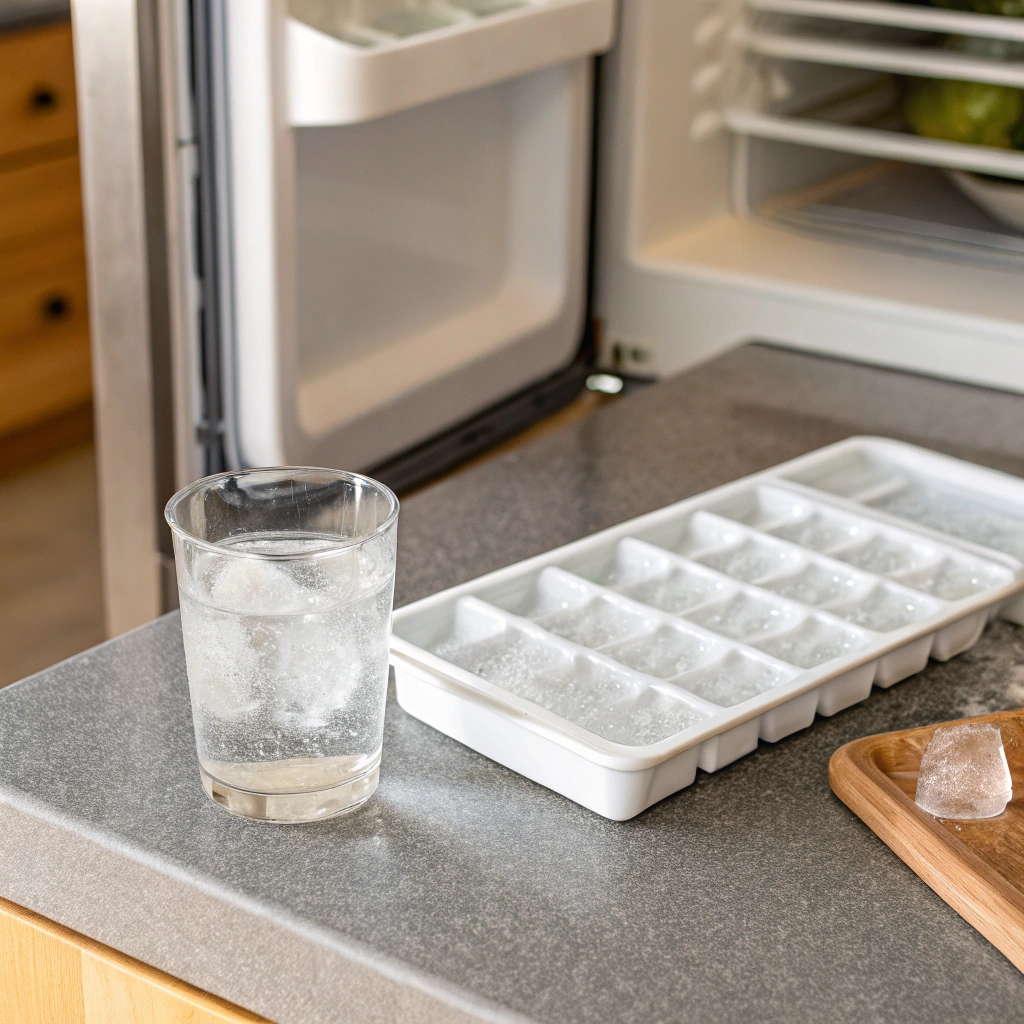
No, it is not practical to use hot water to speed up household ice-making; while the Mpemba effect can occur under specific laboratory conditions, hot water requires significantly more thermal energy extraction, warming your freezer cavity and lengthening overall freeze times.
Thermodynamics vs. Clarity: Boiling for Crystal-Clear Ice
While hot water will not freeze faster in a standard home appliance, boiling water serves a completely different, highly valuable purpose: achieving clear ice.
- Why Cold Water Freezes Faster Practically: Freezing requires removing thermal energy. Cold tap water (around 10°C to 15°C) reaches the 0°C freezing threshold much faster than hot tap water (55°C to 70°C). Furthermore, placing hot containers inside a residential freezer raises the ambient air temperature, causing nearby food to thaw slightly and forcing the compressor to work harder.
- Why You SHOULD Boil Water (Clear Ice Chemistry): Tap water contains dissolved atmospheric gases (oxygen and nitrogen) and microscopic minerals. As water freezes from the outside in, these gases get trapped in the center, creating cloudy, opaque white ice that fractures easily.
- The Directional Boiling Protocol: Boil filtered or distilled water twice (allow it to cool slightly between boils) to drive out dissolved micro-bubbles. Pouring this de-aerated water into your container produces noticeably clearer, denser ice that melts slower in your drink.
Water Temperature / Type | Dissolved Gas Content | Freezing Time (1.5 cm layer) | Visual Clarity & Density |
|---|---|---|---|
Cold Tap Water (15°C) | High dissolved gases | Fastest (~90 Minutes) | Cloudy center; prone to fracturing |
Unboiled Hot Water (60°C) | Moderate dissolved gases | Slow (~140 Minutes) | Slightly cloudy; warms freezer ambient |
Double-Boiled Water (Cooled) | Extremely Low (De-aerated) | Standard (~100 Minutes) | Crystal-Clear; dense, slow-melting |
How to Store Homemade Ice Safely
Did you know that ice acts as a sponge for volatile organic compounds and airborne odors inside your freezer? Leaving loose homemade ice exposed near unsealed food can ruin the taste of your drinks.
Store homemade ice by transferring cracked pieces into a clean, airtight ziplock freezer bag or sealed food-grade container, keeping it covered to prevent the absorption of freezer odors and cross-contamination.
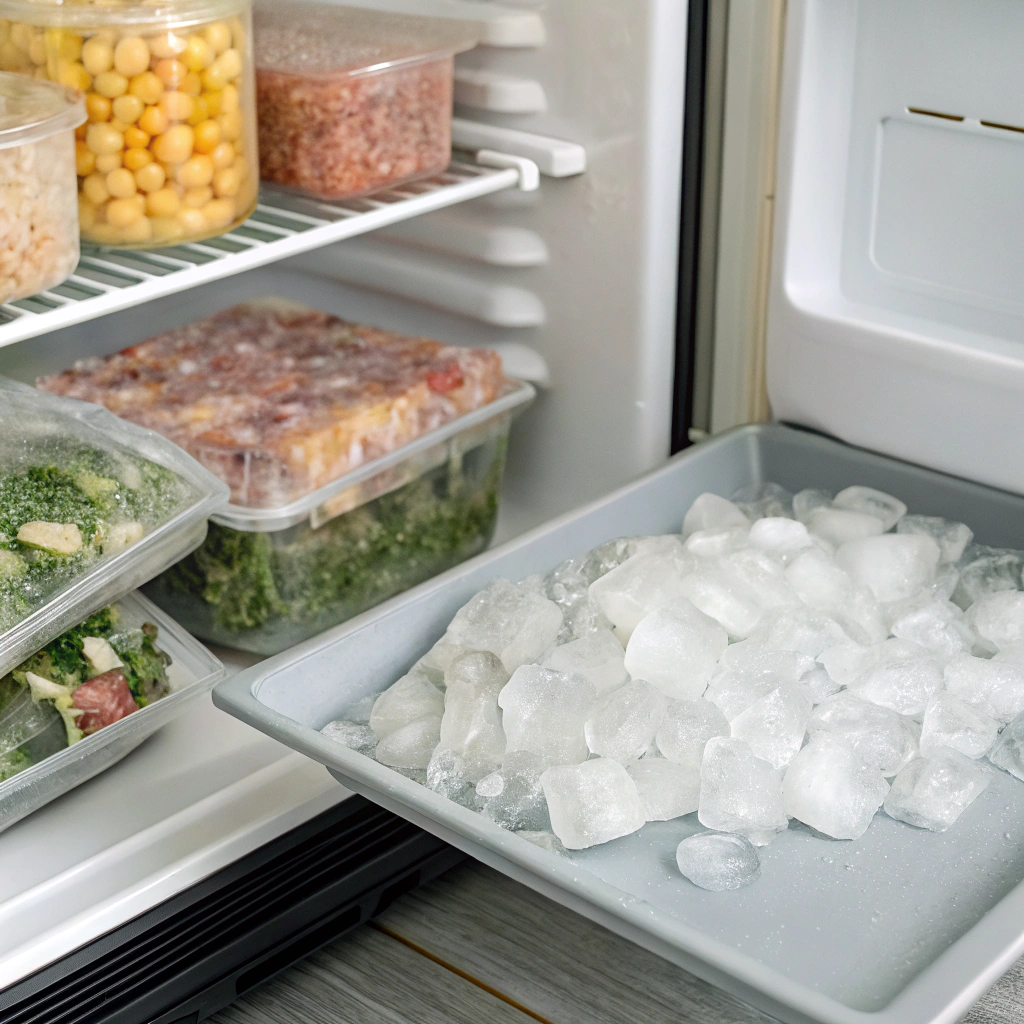
Food Safety & Taste Protection Rules
Follow these guidelines to maintain fresh, odor-free ice:
- Prevent Sublimation & Freezer Burn: Uncovered ice undergoes sublimation (turning directly from solid ice to gas), shrinking over time and developing a stale, freezer-burnt film. Always seal ice in airtight containers once frozen.
- Avoid Food Cross-Contamination: Never store open ice directly adjacent to uncovered raw meats, seafood, or pungent aromatics (like garlic or onions).
- Hygienic Handling: Use dedicated plastic or stainless steel ice tongs rather than bare hands, which introduce heat and bacteria to the stored ice supply.
Storage Parameter | Best Practice Recommendation | Common Mistake to Avoid |
|---|---|---|
Container Type | Sealed heavy-duty Ziplock bag / Snap-lid container | Leaving ice open in shallow freezing pans |
Odor Prevention | Distilled water + airtight sealing | Storing near unsealed frozen seafood or onions |
Dispensing Tool | Clean stainless steel tongs or dedicated scoop | Digging into stored ice with bare hands |
Conclusion
Making homemade ice without an ice tray is simple: freeze a thin layer of drinking water in a shallow food-safe container or ziplock bag, avoid hot water shortcuts unless double-boiling for crystal clarity, and seal your frozen ice in airtight bags to enjoy fresh, fast-chilling drinks every time.