Sep 10, 2026Services Overview
What Is the Best Way to Print Shirts With a Design on It?
Discover the best ways to print shirts with designs, comparing screen printing, DTG, heat transfer, and other methods for quality, durability, detail, and professional custom apparel.
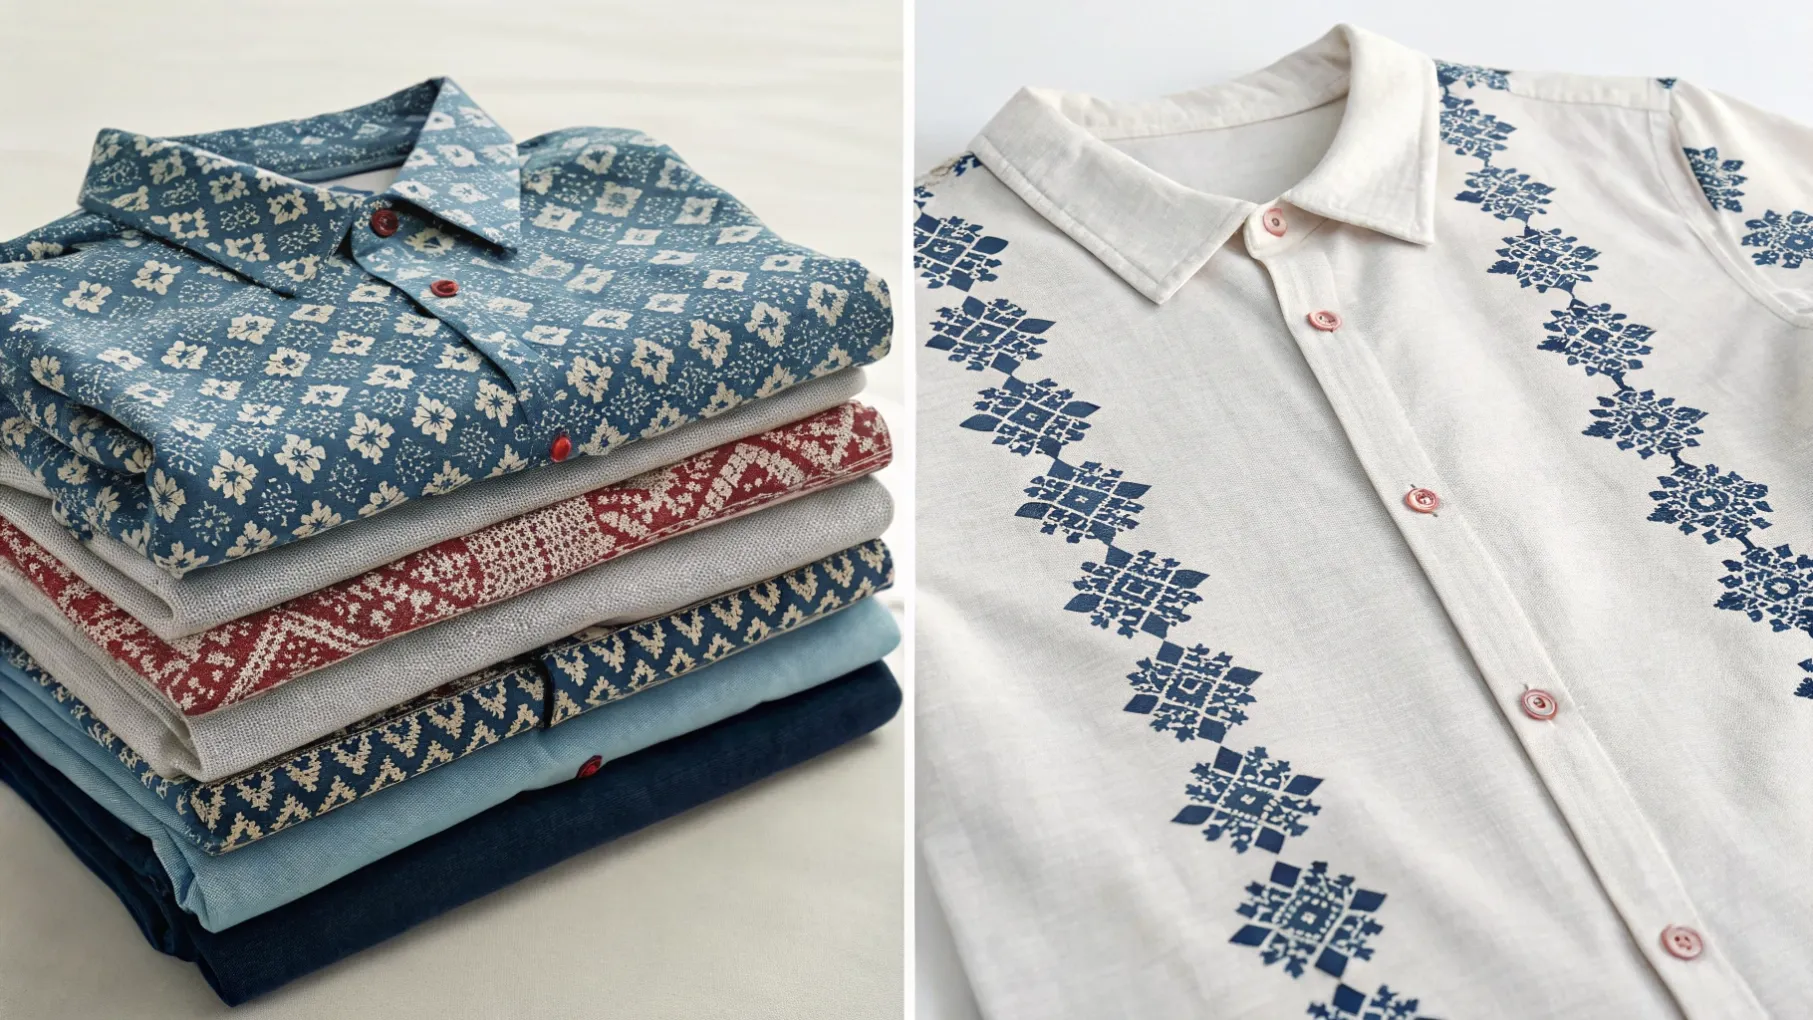
What Is the Best Way to Print Shirts With a Design on It?
Do you pick shirt printing techniques based purely on the lowest online quote, only to end up with cracking inks, stiff plastic patches, or washed-out artwork? Mismatching printing technology to your artwork and fabric ruins your apparel investment.
The best way to print shirts with a design on it depends on matching your artwork complexity and volume: screen printing for large bulk runs with few colors, direct-to-garment (DTG) for detailed photo prints on 100% cotton, and direct-to-film (DTF) for full-color versatility across varied fabrics.
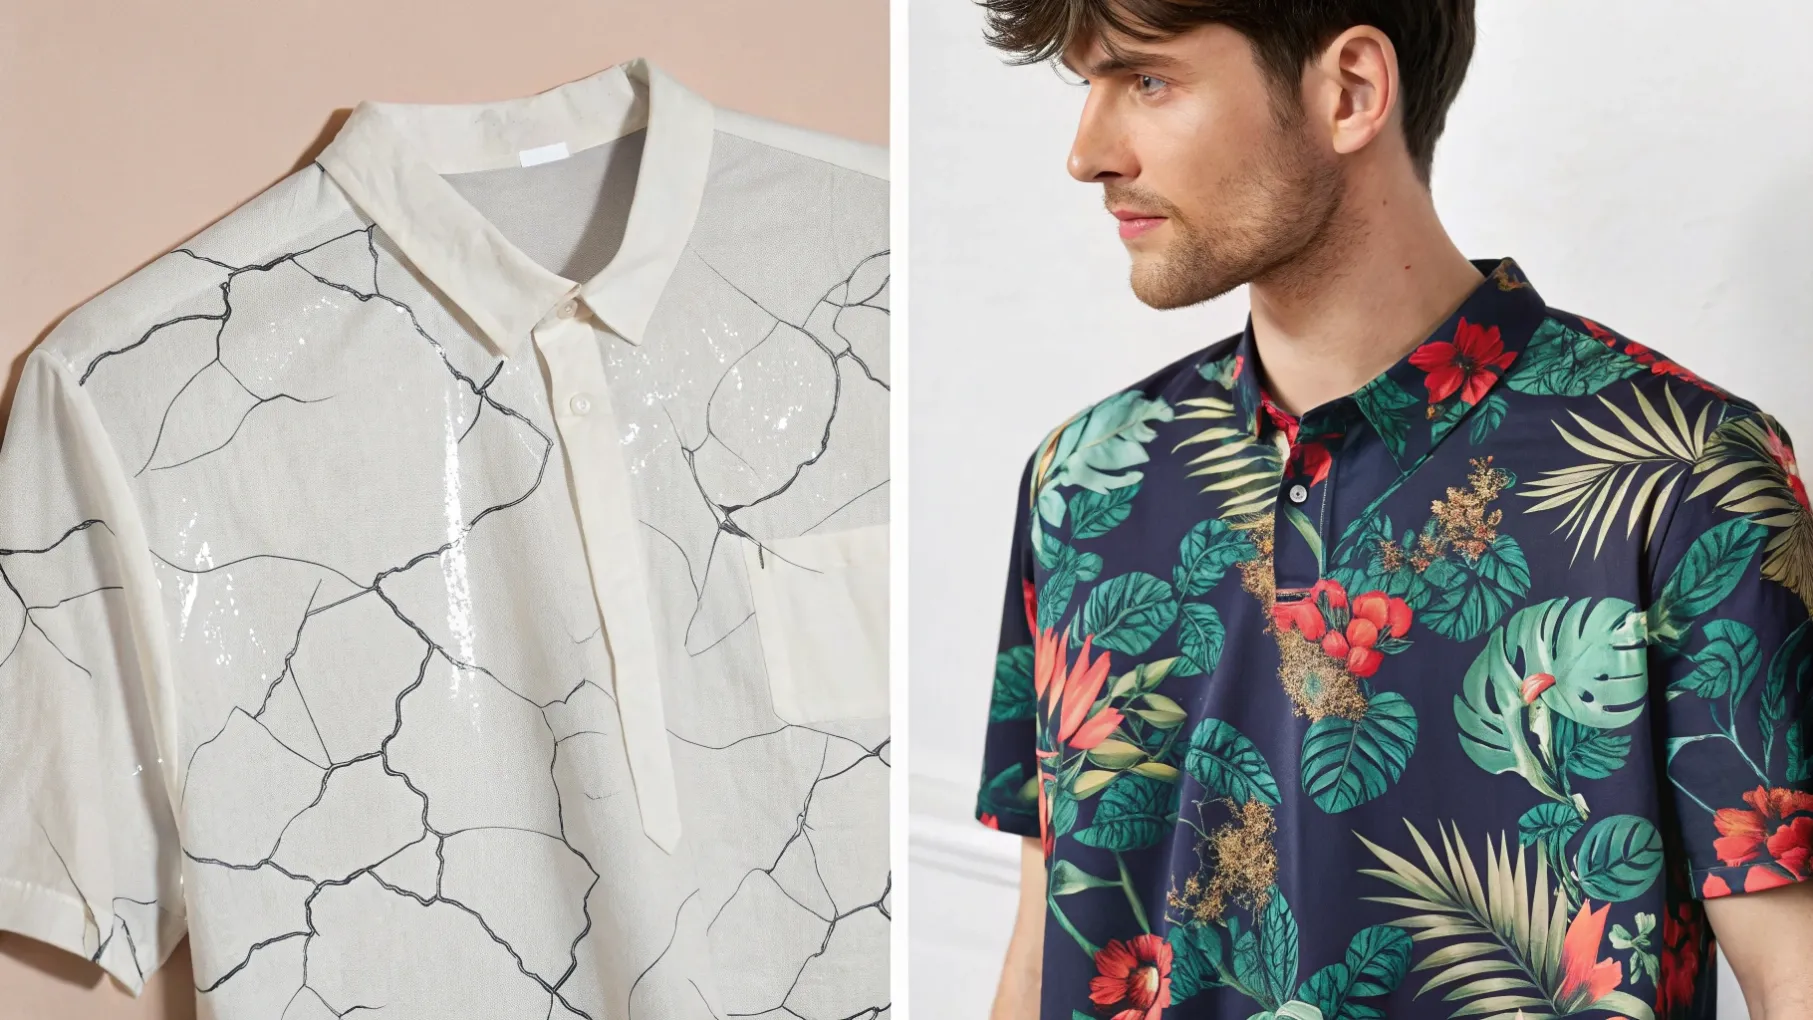
When I started my career working in a printing factory years ago, I saw thousands of garments ruined simply because buyers forced the wrong ink system onto the wrong textile. A high-resolution graphic cannot save an ink that fails to bond with synthetic blends, nor can an expensive direct printer outcompete an industrial screen press on a 2,000-piece uniform rollout. Let us examine the best printing methods, the core machinery involved, and how to transfer designs cleanly.
What Is the Best Way to Print a Design on a Shirt?
Are you struggling to decide between traditional screen presses and modern digital garment printing for your upcoming team apparel? Picking an incompatible process leads to premature print cracking, stiff fabric feel, or blown production budgets.
The best way to print a design on a shirt is screen printing for orders over 50 units with limited colors, direct-to-garment (DTG) for small-run photographic detail on cotton, and direct-to-film (DTF) for vibrant, multi-fabric stretch durability.
Balancing Artwork Complexity, Fabric Blends, and Order Volumes
Choosing the right printing method begins with evaluating your artwork rather than picking a machine first. Screen printing uses mesh stencils to push plastisol or water-based inks directly into garment fibers. Because each color requires a separate physical screen, setup costs are high, but the unit cost drops dramatically once you print more than 50 or 100 shirts. It remains the gold standard for solid corporate logos, athletic jerseys, and high-volume event merchandise.
When designs feature complex color gradients, fine illustrations, or full-color photographs, digital methods take over. Direct-to-garment (DTG) sprays water-based pigment inks directly into the cotton knit, creating an ultra-soft hand-feel that breathes naturally. For polyester blends, heavy canvas jackets, or activewear, direct-to-film (DTF) has become the modern favorite. DTF prints digital pigment onto a clear PET release film coated with hot-melt adhesive powder, curing into a flexible, elastic print that bonds cleanly across almost any fabric composition.
Printing Technology | Best Fabric Compatibility | Minimum Volume Sweet Spot | Hand-Feel / Fabric Texture | Wash Durability Rating |
|---|---|---|---|---|
Traditional Screen Print | 100% Cotton, Poly-Cotton, Canvas | 50 to 10,000+ Units | Soft (Water-based) to Firm (Plastisol) | Exceptional (50+ Washes) |
Direct-to-Garment (DTG) | 100% Ring-Spun Combed Cotton | 1 to 50 Units | Ultra-soft and fully breathable | High (30 to 45 Washes) |
Direct-to-Film (DTF) | Cotton, Polyester, Nylon, Blends | 1 to 500 Units | Smooth, elastic, slightly raised film | Exceptional (40 to 50 Washes) |
Heat Transfer Vinyl (HTV) | Cotton, Poly, Athletic Spandex | 1 to 20 Units | Noticeable rubberized solid patch | Moderate (25 to 35 Washes) |
Dye Sublimation | 100% White or Light Polyester | 10 to 1,000+ Units | Completely undetectable (Zero hand-feel) | Permanent (Never cracks or peels) |
What Machine Is Used to Print Designs on Shirts?
Have you ever wondered what commercial machinery sits on the floor of a professional apparel decoration facility? Understanding equipment capabilities helps you specify the correct production tolerances when submitting artwork.
The machines used to print designs on shirts include automatic rotary screen printing presses, industrial DTG inkjet flatbed printers, roll-to-roll DTF print-and-shake lines, and commercial pneumatic heat presses.
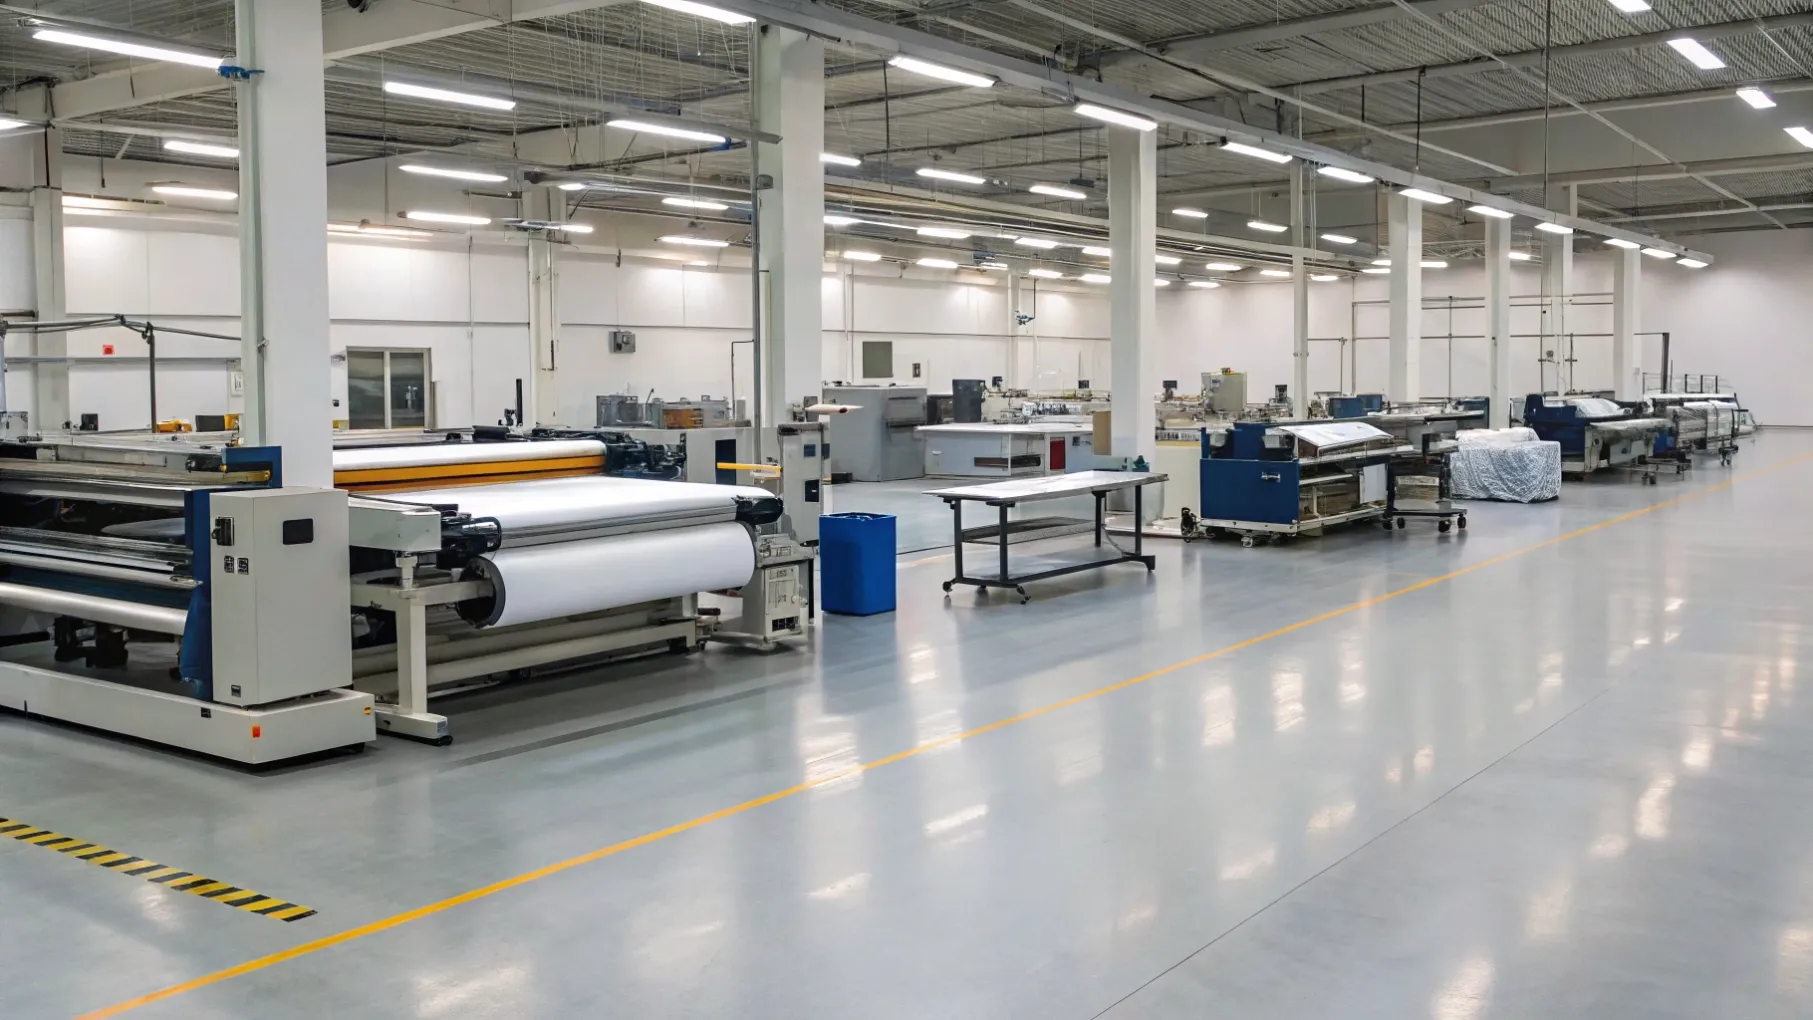
Industrial Printing Equipment and Mechanical Workflows
Commercial garment decoration relies on purpose-built machinery calibrated for ink viscosity, drying temperatures, and pressure consistency. Manual or automatic carousel screen presses hold aluminum mesh screens tensioned with precision polyester mesh, swinging over multiple shirt platens before running through an industrial conveyor curing oven. Conveyor tunnels are vital; if the plastisol ink core does not reach 160°C (320°F), the print will crack and flake away on the customer's first wash.
In digital production shops, industrial flatbed DTG printers use specialized piezo-electric print heads to spray CMYK and white inks directly onto pretreated fabrics. For DTF production, automated roll-fed wide-format printers print mirror images onto PET film, immediately passing the wet film through an integrated powder-shaker machine that applies thermoplastic polyurethane (TPU) adhesive powder. The film passes through an infrared curing chamber, rolling up ready for heat-press transfer onto shirts.
Machinery Type | Core Operating Mechanism | Output Speed (Shirts/Hour) | Primary Industrial Advantage |
|---|---|---|---|
Automatic Rotary Screen Press | Pneumatic squeegees push ink through mesh | 400 to 900 pieces/hour | Unmatched low unit cost on massive bulk orders |
Industrial DTG Flatbed Printer | Inkjet nozzles fire micro-droplets on cotton | 20 to 60 pieces/hour | Photographic gradient rendering without screen fees |
Automated DTF Roll-to-Roll Unit | Inkjet prints film, shakes TPU powder, cures | 50 to 120 transfers/hour | Versatile application across dark and synthetic fabrics |
Industrial Pneumatic Heat Press | Heated aluminum platen with compressed air | 60 to 120 presses/hour | Perfect, repeatable temperature and pressure control |
How Do I Transfer a Design on to a Shirt?
Do you find yourself wondering how raw digital artwork turns into a durable, cleanly adhered physical transfer on a cotton or poly blend? Skipping critical pre-press steps leads to peeling edges and scorched textiles.
You transfer a design onto a shirt by converting artwork into vector or high-res raster formats, printing onto carrier transfer film or vinyl, positioning it onto a pre-pressed garment, and heat-pressing at specific temperatures and pressures.
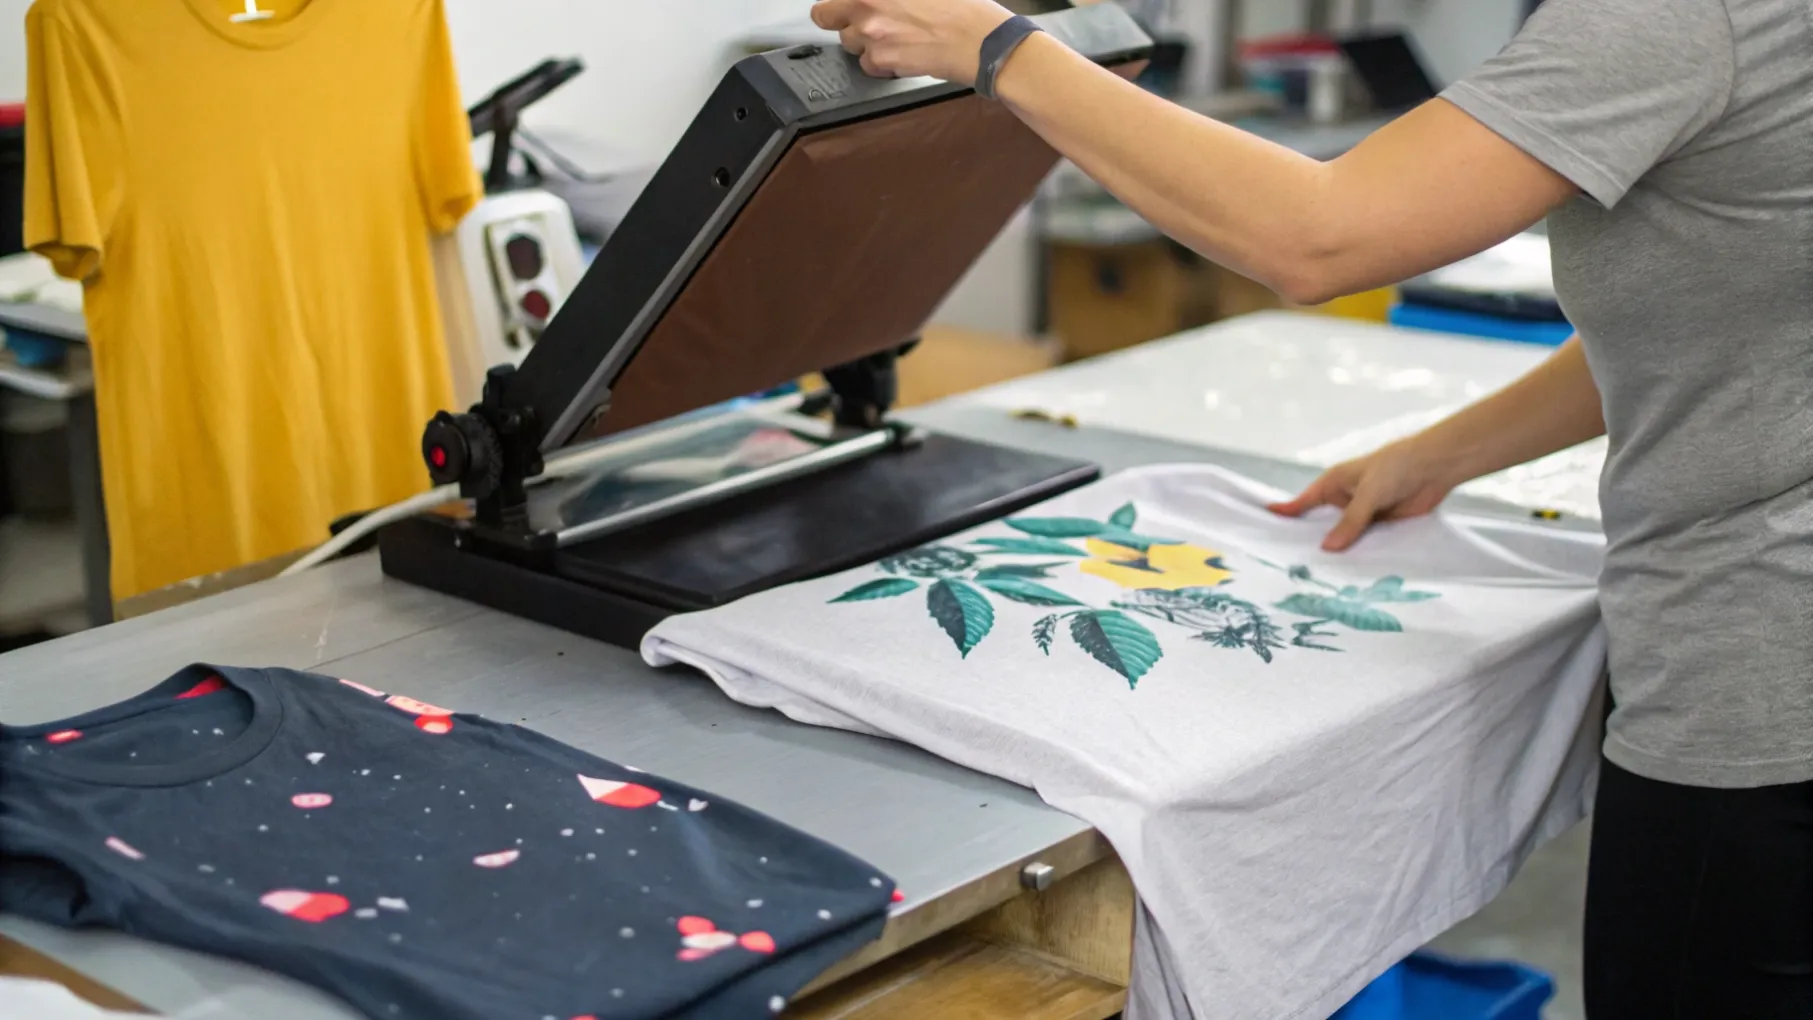
Step-by-Step Heat Transfer Execution and Curing Parameters
Applying heat transfers requires strict discipline around temperature, time, and pressure. The first critical step is pre-pressing the garment for 5 to 8 seconds. Cotton naturally holds ambient moisture and wrinkles; failing to pre-press traps steam beneath the adhesive, causing the transfer film to bubble or detach prematurely during laundry cycles.
For brand managers like Jacky coordinating corporate event apparel, adhering to technical film specifications guarantees retail durability. Once positioned with thermal tape, close the heat press using medium-to-firm pressure (around 40 to 60 PSI) at 150°C to 160°C (300°F to 320°F) for 12 to 15 seconds. Always verify whether your transfer sheet requires a "hot peel" (peeling immediately after pressing) or a "cold peel" (waiting until the carrier sheet cools completely to room temperature). A final 5-second post-press with a Teflon sheet locks the print deep into the fabric texture.
Transfer Step | Key Action Required | Operational Parameter | Why This Step Cannot Be Skipped |
|---|---|---|---|
1. Garment Pre-Press | Clamping bare shirt under heat press | 5 to 8 Seconds at 150°C | Removes hidden textile moisture and flattens fabric knits |
2. Alignment & Taping | Centering print 2 to 3 inches below collar | Thermal heat-resistant tape | Prevents crooked or off-center graphic placement |
3. Primary Heat Press | Applying uniform heat and platen force | 12 to 15 Sec at 150°C to 160°C | Melts TPU hot-melt adhesive into fabric yarn weave |
4. Carrier Film Release | Peeling clear PET protective backing | Warm or Cold Peel (Per film spec) | Prevents lifting ink edges or tearing delicate artwork |
5. Final Post-Seal Press | Clamping with Teflon or parchment cover | 4 to 5 Seconds at 150°C | Smooths out high-gloss shine and improves wash life |
Conclusion
The best way to print shirts is to match your artwork style, fabric composition, and order volume to the right technology, ensuring your finished apparel looks sharp, feels comfortable, and withstands repeated washes.