Aug 21, 2026News & Insights
What’s the Best Way to Clean an Insulated Water Bottle?
Properly cleaning an insulated water bottle requires daily washing, removing silicone gaskets, thorough rinsing, and complete air-drying to prevent bacteria and odors.
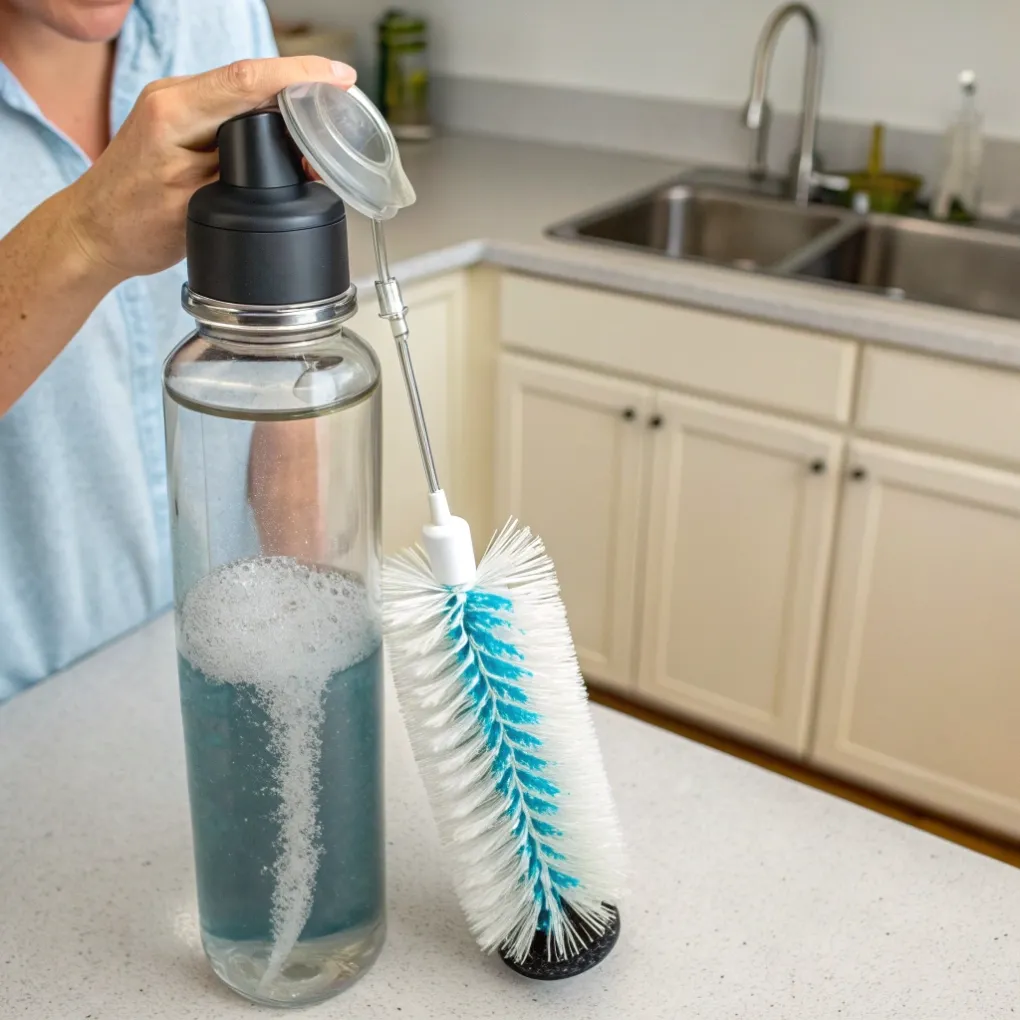
What’s the Best Way to Clean an Insulated Water Bottle?
Are you frustrated by an insulated water bottle that smells stale, develops dark spots under the lid, or makes your fresh water taste strange? Merely rinsing your bottle with water leaves hidden bacteria, mold spores, and beverage residue trapped in the crevices.
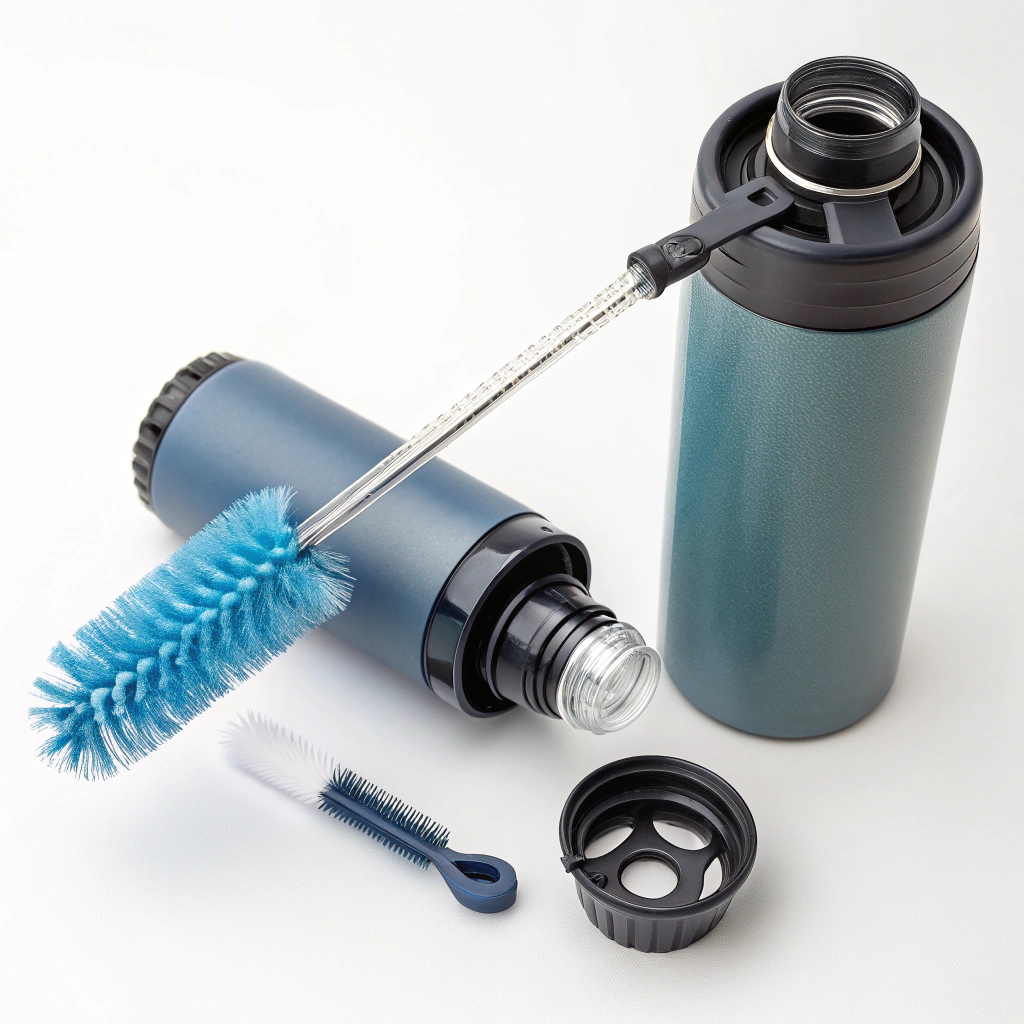
The best way to clean an insulated water bottle daily is using warm water, mild dish soap, and a long-handled nylon bottle brush to scrub the interior walls, base, and threads thoroughly. Disassemble the lid, remove the silicone gasket, wash every component separately, and let all parts air-dry completely upside down to prevent bacterial growth and persistent odors.
When I started my career in a humble printing factory, I saw people carry reusable drinkware with stained interiors and mildew-coated gaskets simply because they only gave them a quick five-second rinse under the tap. Later, I founded Latitude Experience Pte Ltd to help business leaders and consumers choose durable, high-quality drinkware and lifestyle products. An insulated stainless steel bottle is an investment in daily health and sustainability, but its performance depends on proper hygiene. Keep reading to learn how to deep clean, sterilize, and care for your insulated water bottle properly.
How to Deep Clean an Insulated Water Bottle?
Are you struggling to eliminate stubborn coffee stains, tea tannins, or a sour smell that lingers even after standard dishwashing? Using harsh abrasive scouring pads or bleach can permanently scratch the internal steel lining and ruin vacuum seals.
To deep clean an insulated water bottle, fill it with warm water mixed with one tablespoon of baking soda and one tablespoon of distilled white vinegar (or a dedicated effervescent bottle cleaning tablet). Let the mixture soak for 15 to 30 minutes, scrub thoroughly with a soft bottle brush, and rinse clean with warm water.
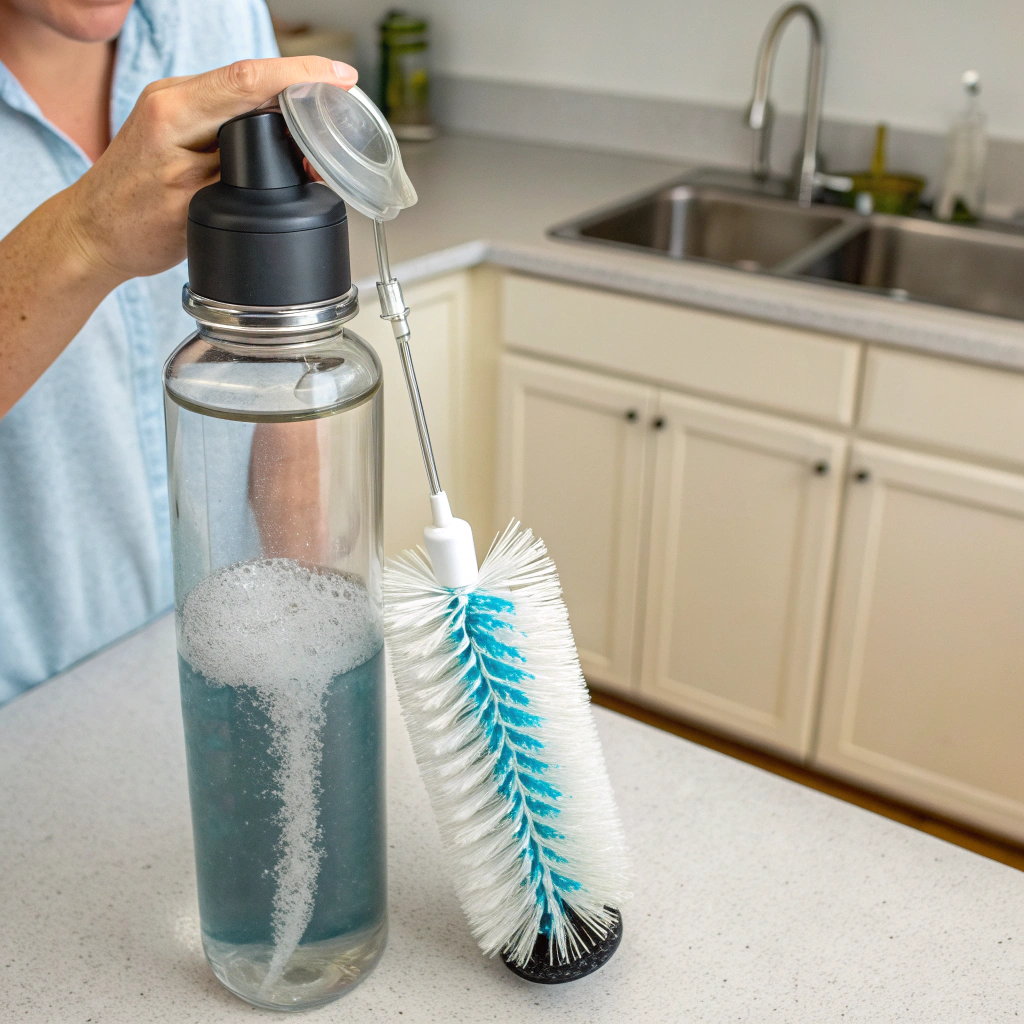
Safe and Effective Deep Cleaning Solutions
During my decades working with food-grade 304 stainless steel and custom drinkware, I have tested various cleaning agents to evaluate their impact on metal passivity and silicone longevity. Baking soda acts as a gentle, non-abrasive deodorizer, while mild vinegar dissolves mineral scale and beverage tannins without stripping the protective chromium oxide layer of the stainless steel.
For persistent organic odors trapped in silicone parts, soak the silicone gaskets separately in a 1:1 mixture of warm water and white vinegar for 30 minutes before washing them with mild soap.
Deep Cleaning Agent | Measurement Ratio | Soak Time | Best For | Safety Caution |
|---|---|---|---|---|
Baking Soda + Warm Water | 1 tbsp per 500ml water | 15–30 minutes | Odor removal, mild stains | Non-abrasive, safe on all steels |
White Vinegar + Warm Water | 1:1 ratio with warm water | 20–30 minutes | Hard water mineral buildup, scale | Rinse thoroughly to clear vinegar scent |
Bottle Cleaning Tablets | 1 tablet in warm water | 15–30 minutes | Heavy coffee & tea tannins | Excellent for narrow-neck bottles |
Chlorine Bleach / Harsh Acid | Do Not Use | N/A | Not Recommended | Corrodes stainless steel & ruins seals |
Using gentle chemical effervescence rather than steel wool preserves the electropolished interior of your bottle, ensuring it stays smooth and resistant to future stain accumulation.
How to Sterilize Insulated Bottles?
Are you worried about harmful bacteria, viruses, or mold colonies taking hold inside your reusable bottle after an illness? Assuming you can boil an insulated bottle on a stovetop like baby glass bottles can ruin your vacuum insulation permanently.
To sterilize an insulated bottle safely, fill the stainless steel interior with freshly boiled water ($100^\circ\text{C}$) and let it sit with the lid off for 5 to 10 minutes, or submerge heat-safe silicone parts in boiling water for 3 to 5 minutes. Never submerge the entire vacuum-insulated flask in boiling water, as extreme external thermal expansion can break the hermetic vacuum seal.
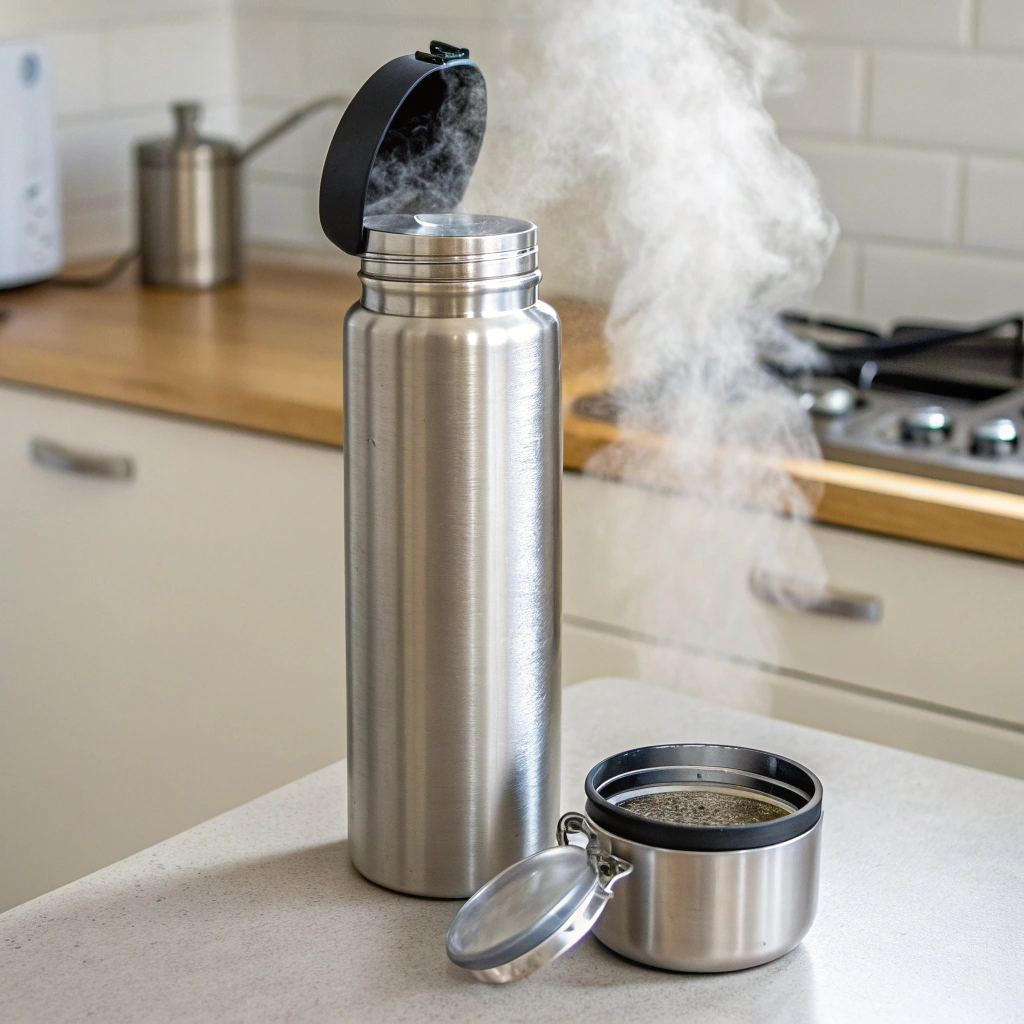
Sanitization Rules for Vacuum Flasks vs. Components
At Latitude Experience Pte Ltd, clients like Jacky frequently ask me whether insulated bottles can be put in commercial dishwashers or steam sterilizers. In my factory inspection experience, excessive external heat compromises the exterior powder coating, weakens glued base caps, and damages sensitive lid mechanisms.
Sterilizing your bottle requires treating the metal body and the plastic/silicone lid components according to their distinct thermal tolerances.
Bottle Component | Safe Sterilization Method | Unsafe Method (Avoid) | Key Protection Reason |
|---|---|---|---|
Double-Wall Steel Body | Fill interior with boiling water ($100^\circ\text{C}$) for 5–10 mins | Full submersion boiling / Microwave | Protects vacuum seal & powder coating |
Removable Silicone Gasket | Boil in water pot for 3–5 mins | Harsh chemical bleach | Restores elasticity & kills deep mold |
Plastic Lid / Spout | Warm soapy water + food-grade sanitizer rinse | High-heat dishwasher drying cycle | Prevents plastic warping & seal leakage |
Straws & Narrow Valves | Straw brush with warm soapy water & alcohol wipe | Direct open flame / UV oven overload | Keeps flexible silicone from cracking |
Following these component-specific rules ensures complete microbial elimination without compromising the bottle’s thermal insulation performance.
What Happens If You Don’t Wash Your Water Bottle Every Day?
Are you in the habit of just refilling your water bottle day after day without washing it, assuming clean water keeps the container clean? Neglecting daily washing creates a warm, dark, moist incubator where unseen pathogens multiply rapidly.
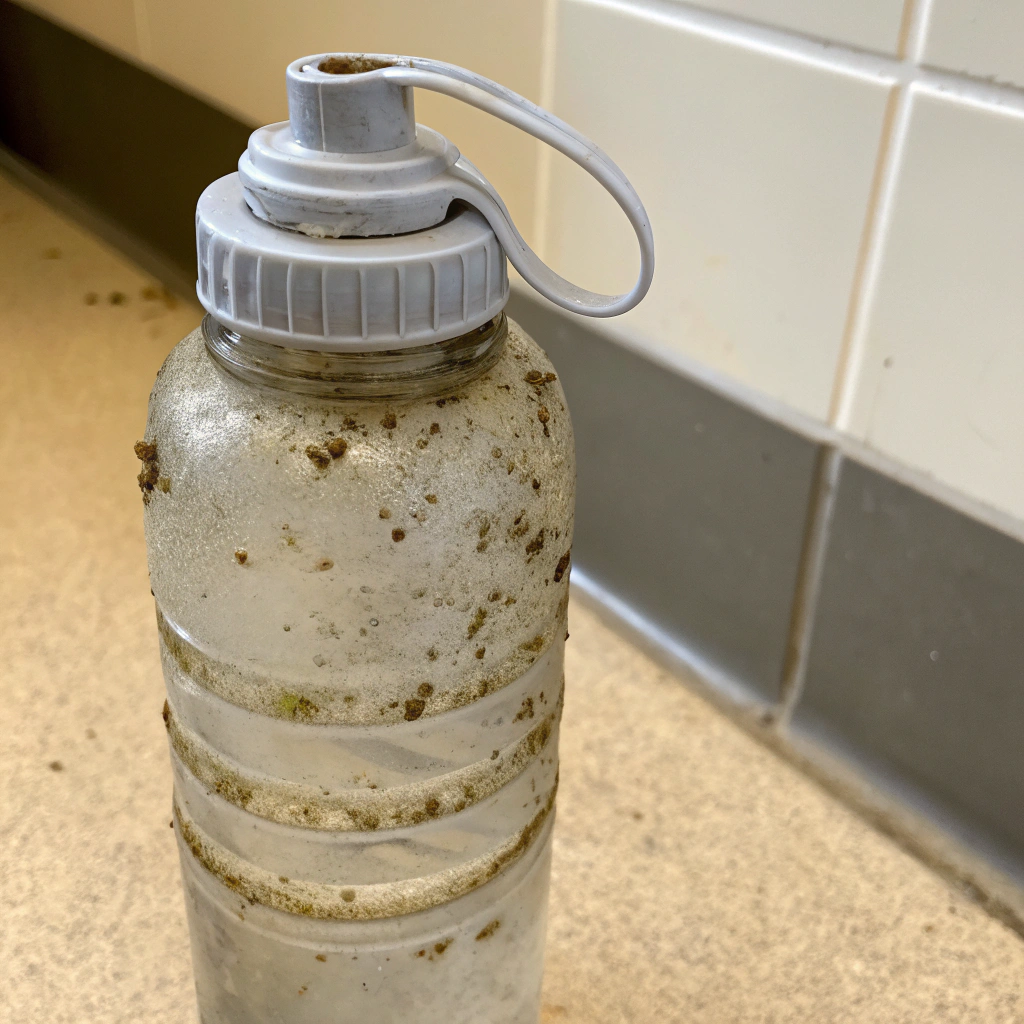
If you don’t wash your water bottle every day, bacteria, mold, and yeast colonies multiply rapidly along the mouthpiece, threads, and silicone gasket, forming a slimy bacterial layer called a biofilm. This can cause foul odors, unpleasant sour tastes, and potential health issues such as stomach upset, nausea, or throat irritation.
The Biology of the Bottle Biofilm
In my quality assurance and material testing experience, the greatest source of contamination in a water bottle does not come from the tap water itself—it comes from the user’s mouth, hands, and the surrounding environment. Every time you take a sip, skin cells, saliva enzymes, backwash, and lip balm transfer onto the rim and spout.
Within 24 to 48 hours, these organic particles allow airborne microbes to colonize the moist crevices of the lid. A study published in sanitary hygiene research revealed that unwashed reusable water bottles can harbor more viable bacterial cells per square centimeter than an average pet bowl or toilet seat if left uncleaned.
Days Without Washing | Internal Condition | Microbial Growth Level | Potential Risk |
|---|---|---|---|
Day 1 (24 Hours) | Saliva & skin cell buildup on mouthpiece | Low to Moderate bacterial colonization | Minor stale taste |
Day 2–3 (48–72 Hours) | Initial microscopic biofilm forms in seal grooves | Rapid bacterial & yeast multiplication | Sour odor, gastrointestinal sensitivity |
Day 4–7+ (1 Week+) | Visible black/green mold flecks under gasket | Heavy biofilm & mold spore accumulation | Nausea, allergic flare-ups, stomach cramping |
Washing your bottle daily and disassembling the lid takes less than two minutes, providing total peace of mind and clean, refreshing hydration every day.
The Complete Step-by-Step Daily Cleaning Protocol
To keep your insulated drinkware fresh, odor-free, and performing like new for years, follow this simple daily routine:
- Disassemble All Components: Unscrew the lid, open any flip-top or straw mechanisms, and gently remove the silicone rubber gasket using your fingers or the edge of a blunt butter knife (avoid sharp knives that can tear the silicone).
- Wash With Warm Soapy Water: Apply mild dish soap to a long bottle brush. Scrub the interior bottom corners and sidewalls thoroughly.
- Detail the Lid and Threads: Use a small straw brush or soft toothbrush to scrub the threaded neck, spout, and gasket channel of the lid where saliva and moisture settle.
- Rinse Completely: Rinse all soap suds away with clean, warm running water.
- Air-Dry Completely: Place the bottle body upside down on a drying rack and lay all lid parts separately on a clean towel. Never assemble or close a damp bottle, as trapped moisture is the primary cause of mildew and foul smells.
Conclusion
Cleaning an insulated water bottle properly requires daily scrubbing with warm soapy water, disassembling the silicone lid gaskets, and air-drying all components completely, ensuring your reusable bottle stays sanitary, odor-free, and durable for years of daily use.